Touchscreen Setup
Overview
This guide covers the setup, configuration, and troubleshooting of touchscreen displays for use with the Trossen AI Data Collection UI. Proper touchscreen configuration ensures accurate input mapping and optimal user experience when operating the robot control interface.
Hardware Setup
Required Hardware Components
Touchscreen Display
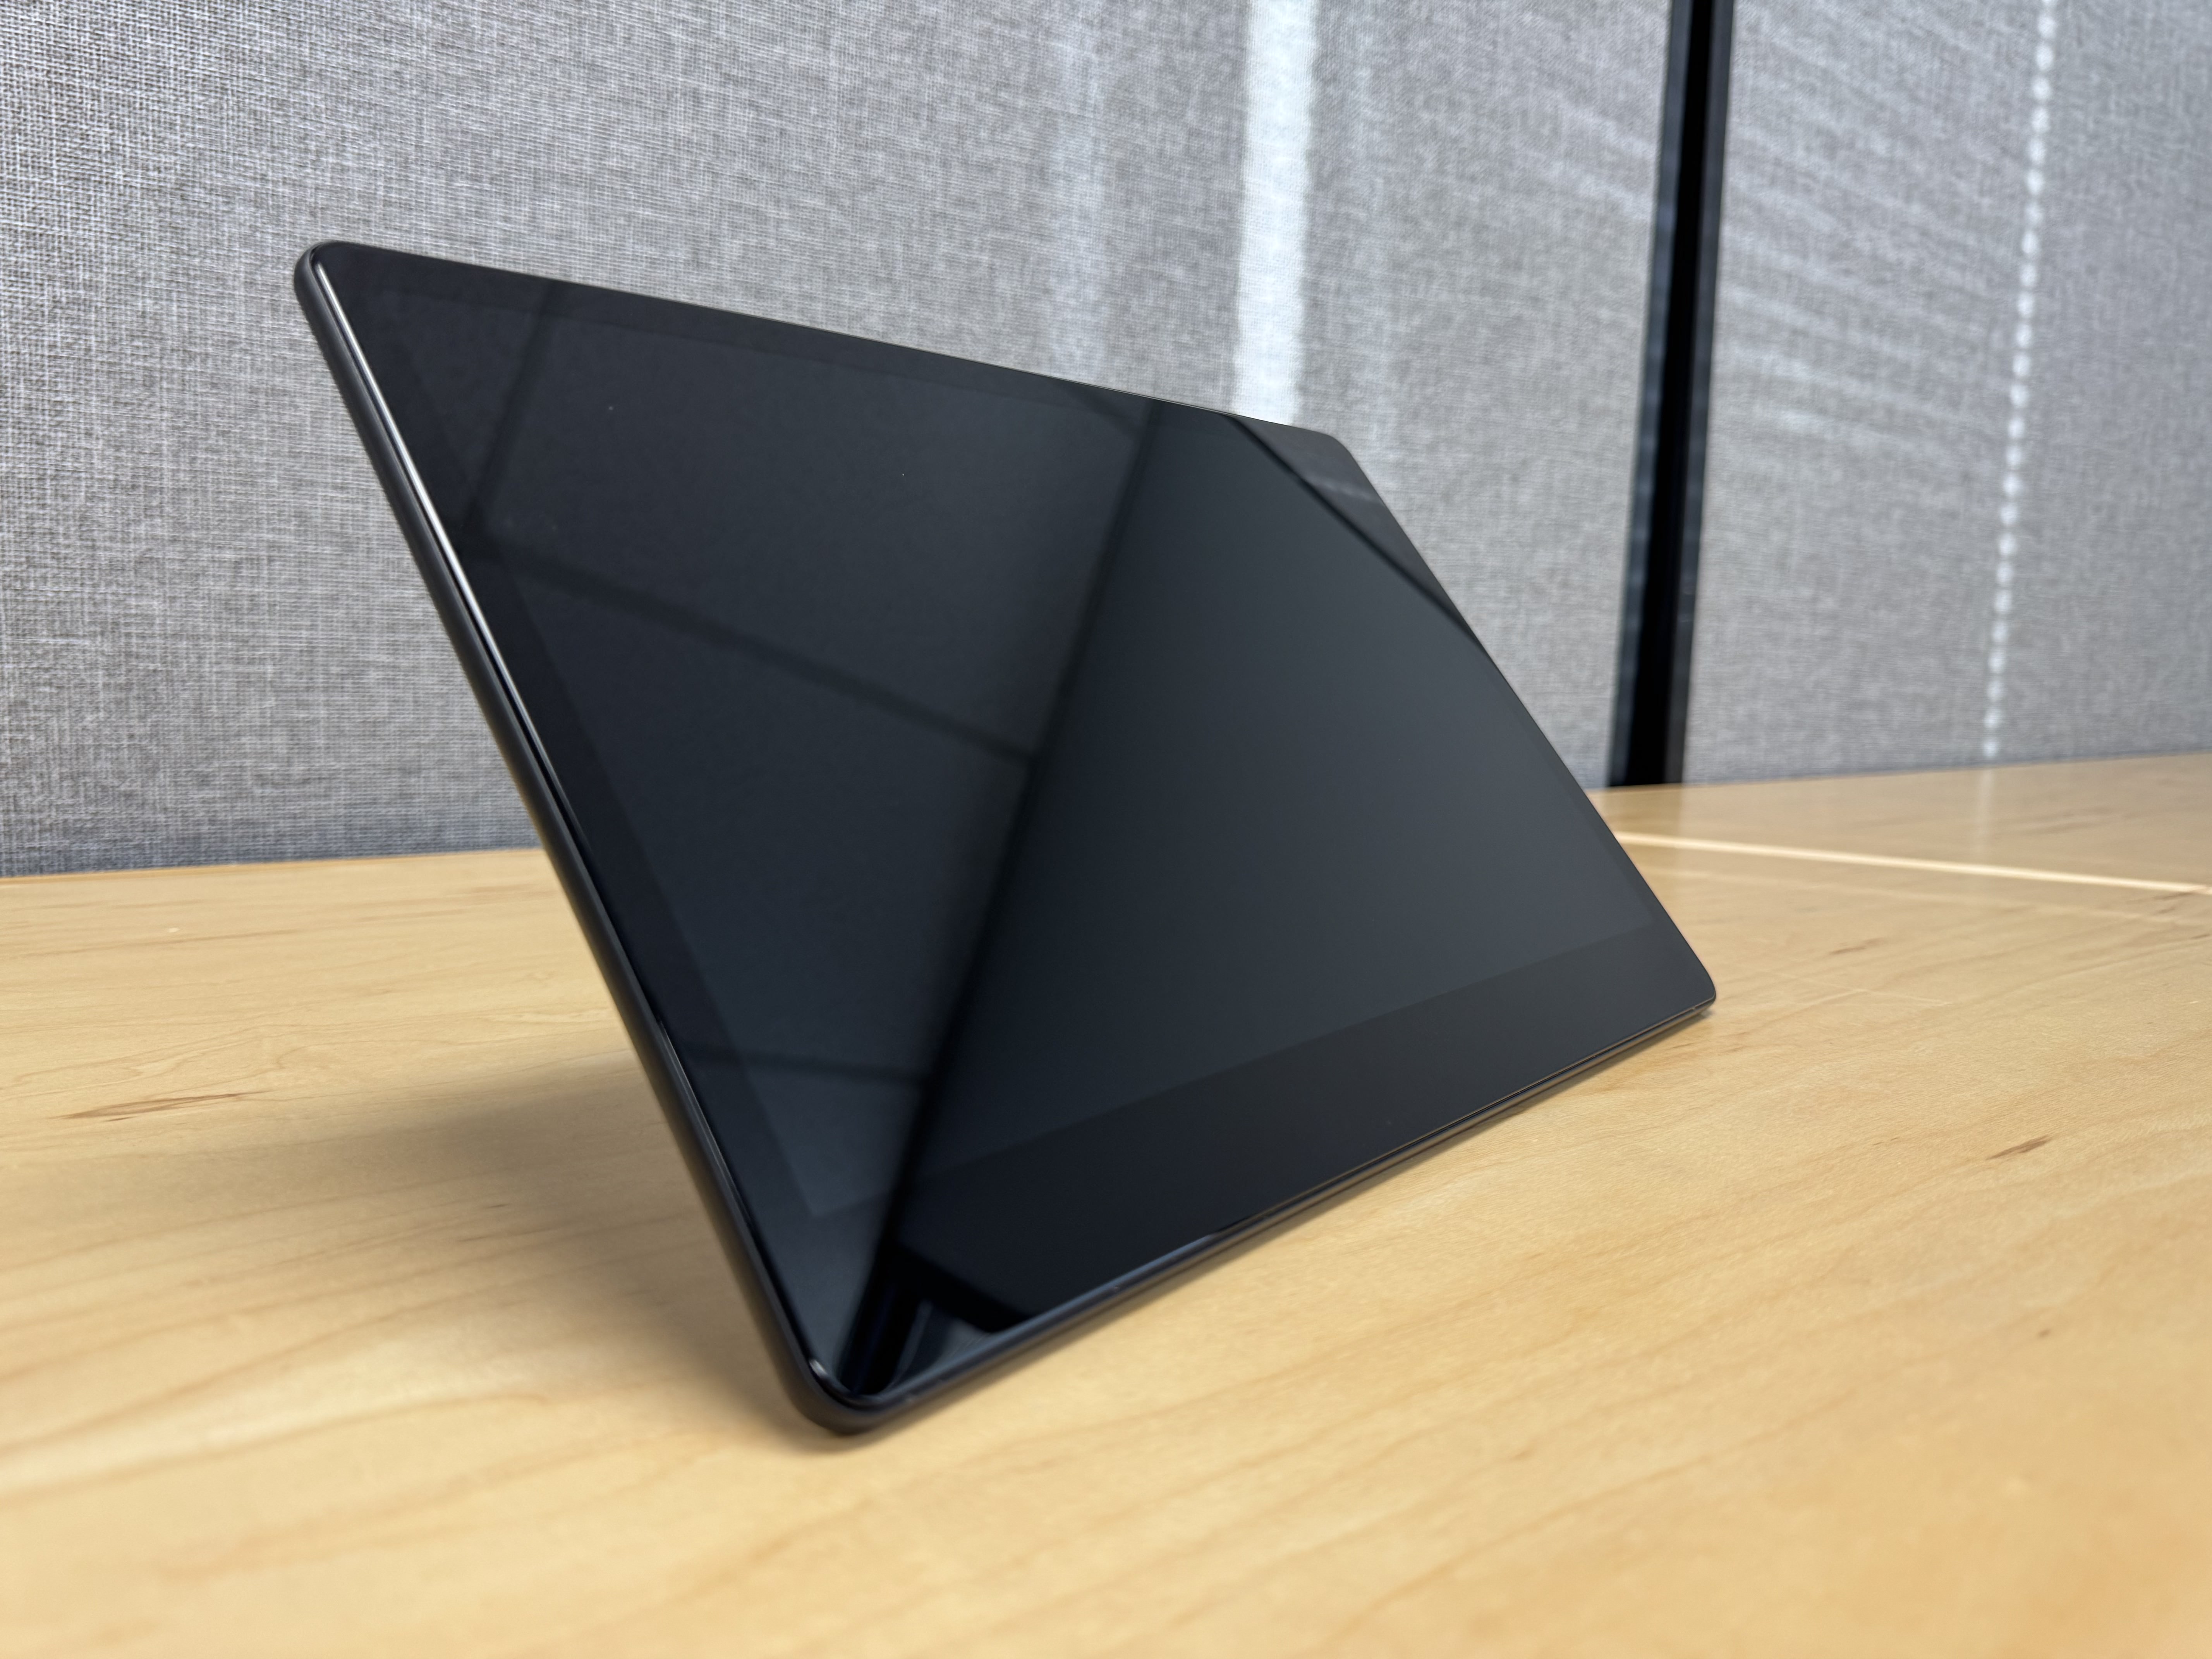
Specifications:
Size: 13.3”
Resolution: 1080 FHD
Touch Type: Capacitive Multi-Touch
Interface: HDMI + USB
Operating Voltage: 12V DC
Power Supply
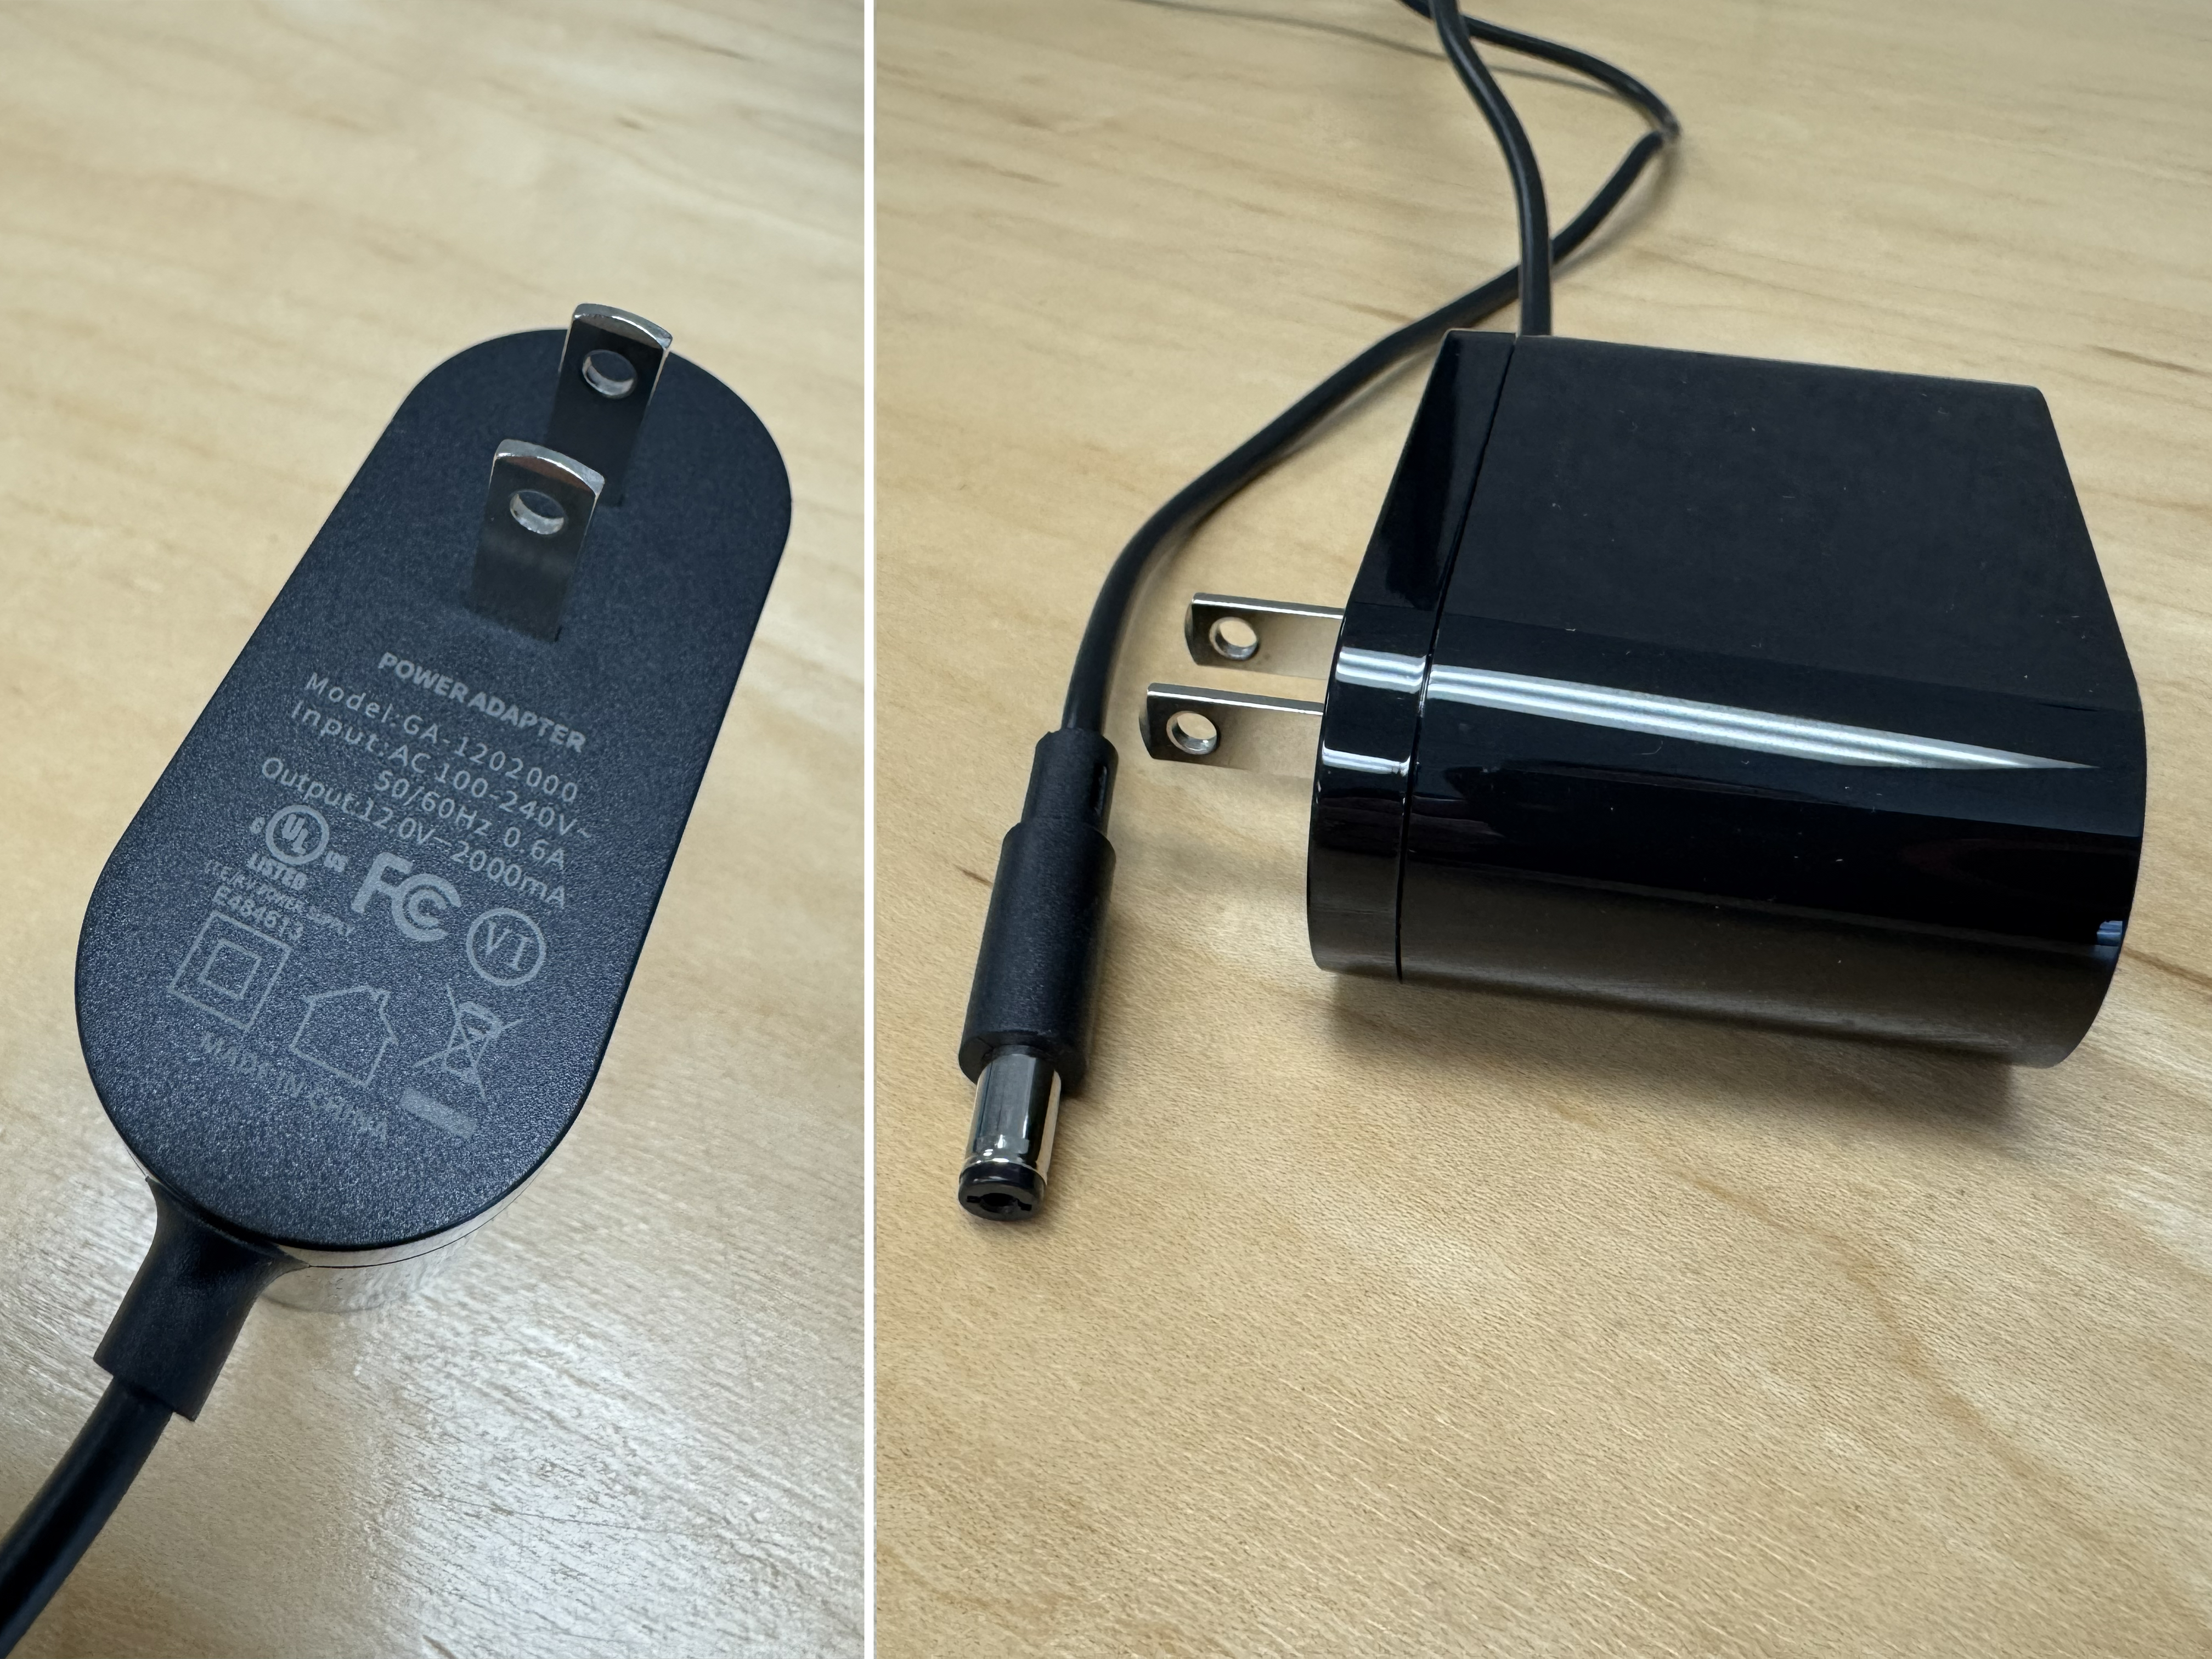
Specifications:
Model: KA-12020100
Input: AC 100-240V, 50/60Hz
Output: DC 12V, 2000mA (2A)
Connector Type: DC barrel connector
HDMI Cable

Specifications:
Type: HDMI 2.0 or higher
Connector: HDMI Type A
Features: Supports 1080p
USB Cable
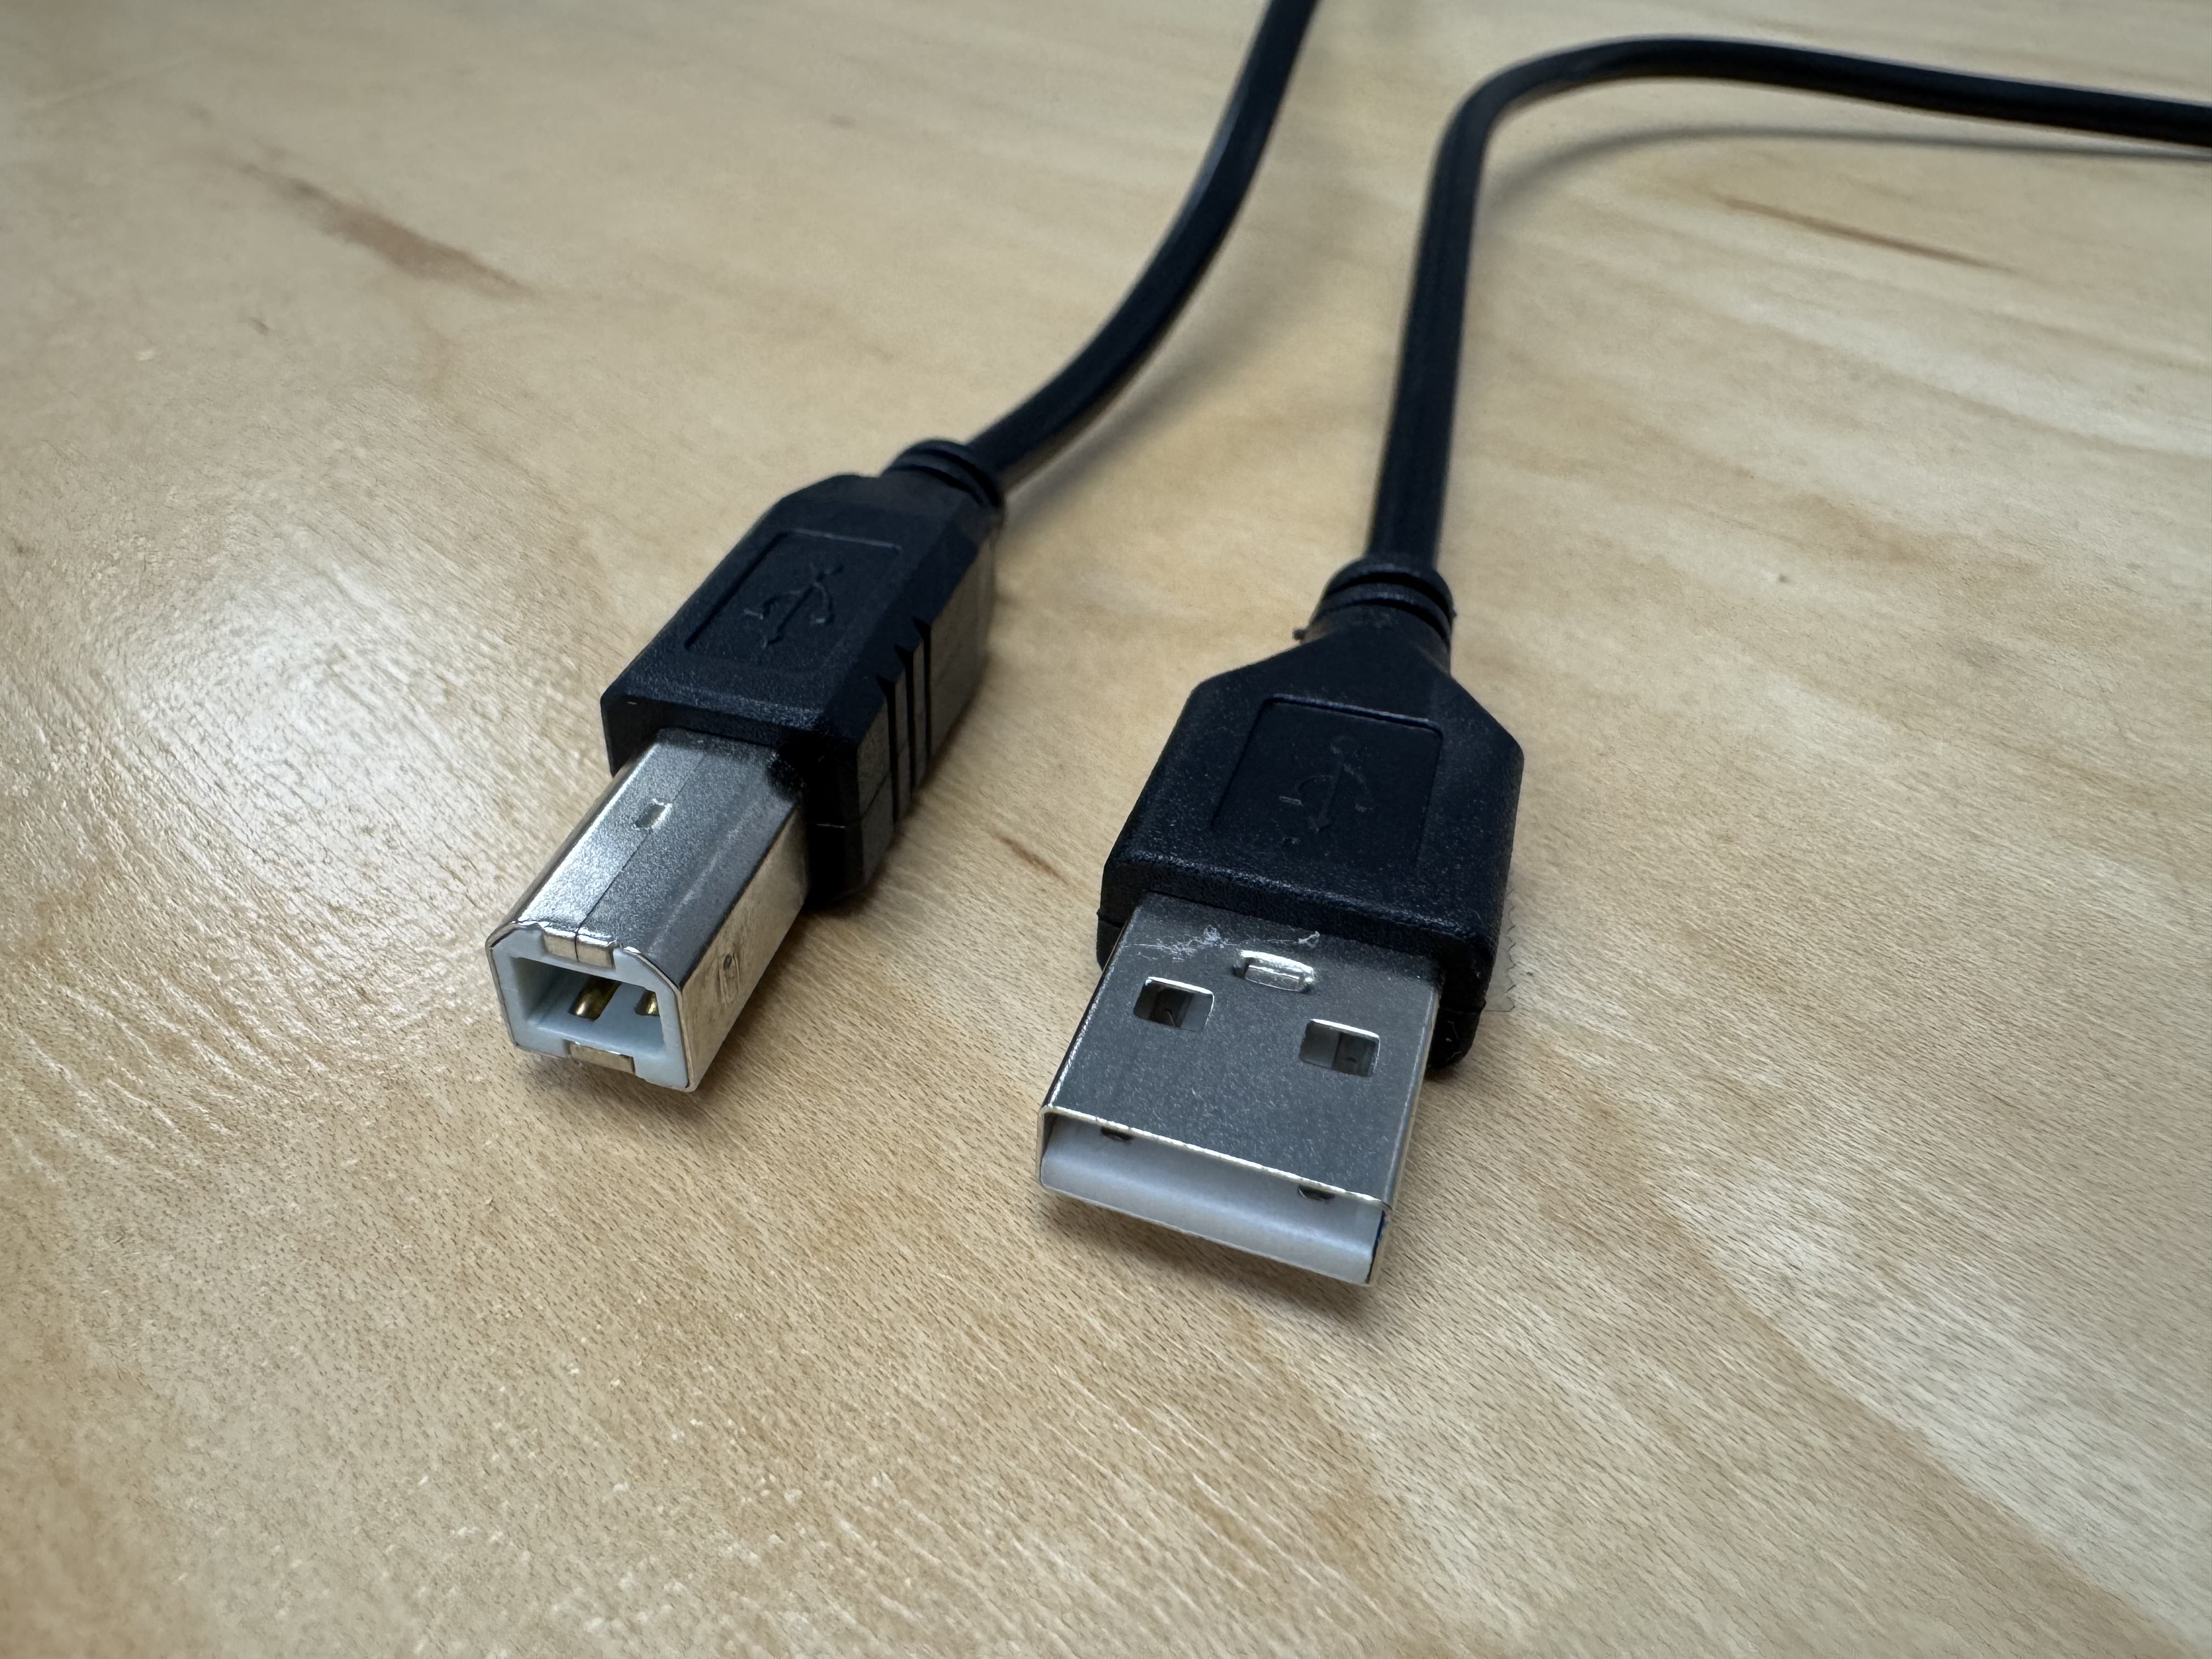
Specifications:
Type: USB Type-A to USB Type-B
Purpose: Touch input data transmission
USB Version: USB 2.0 or higher
Physical Connection
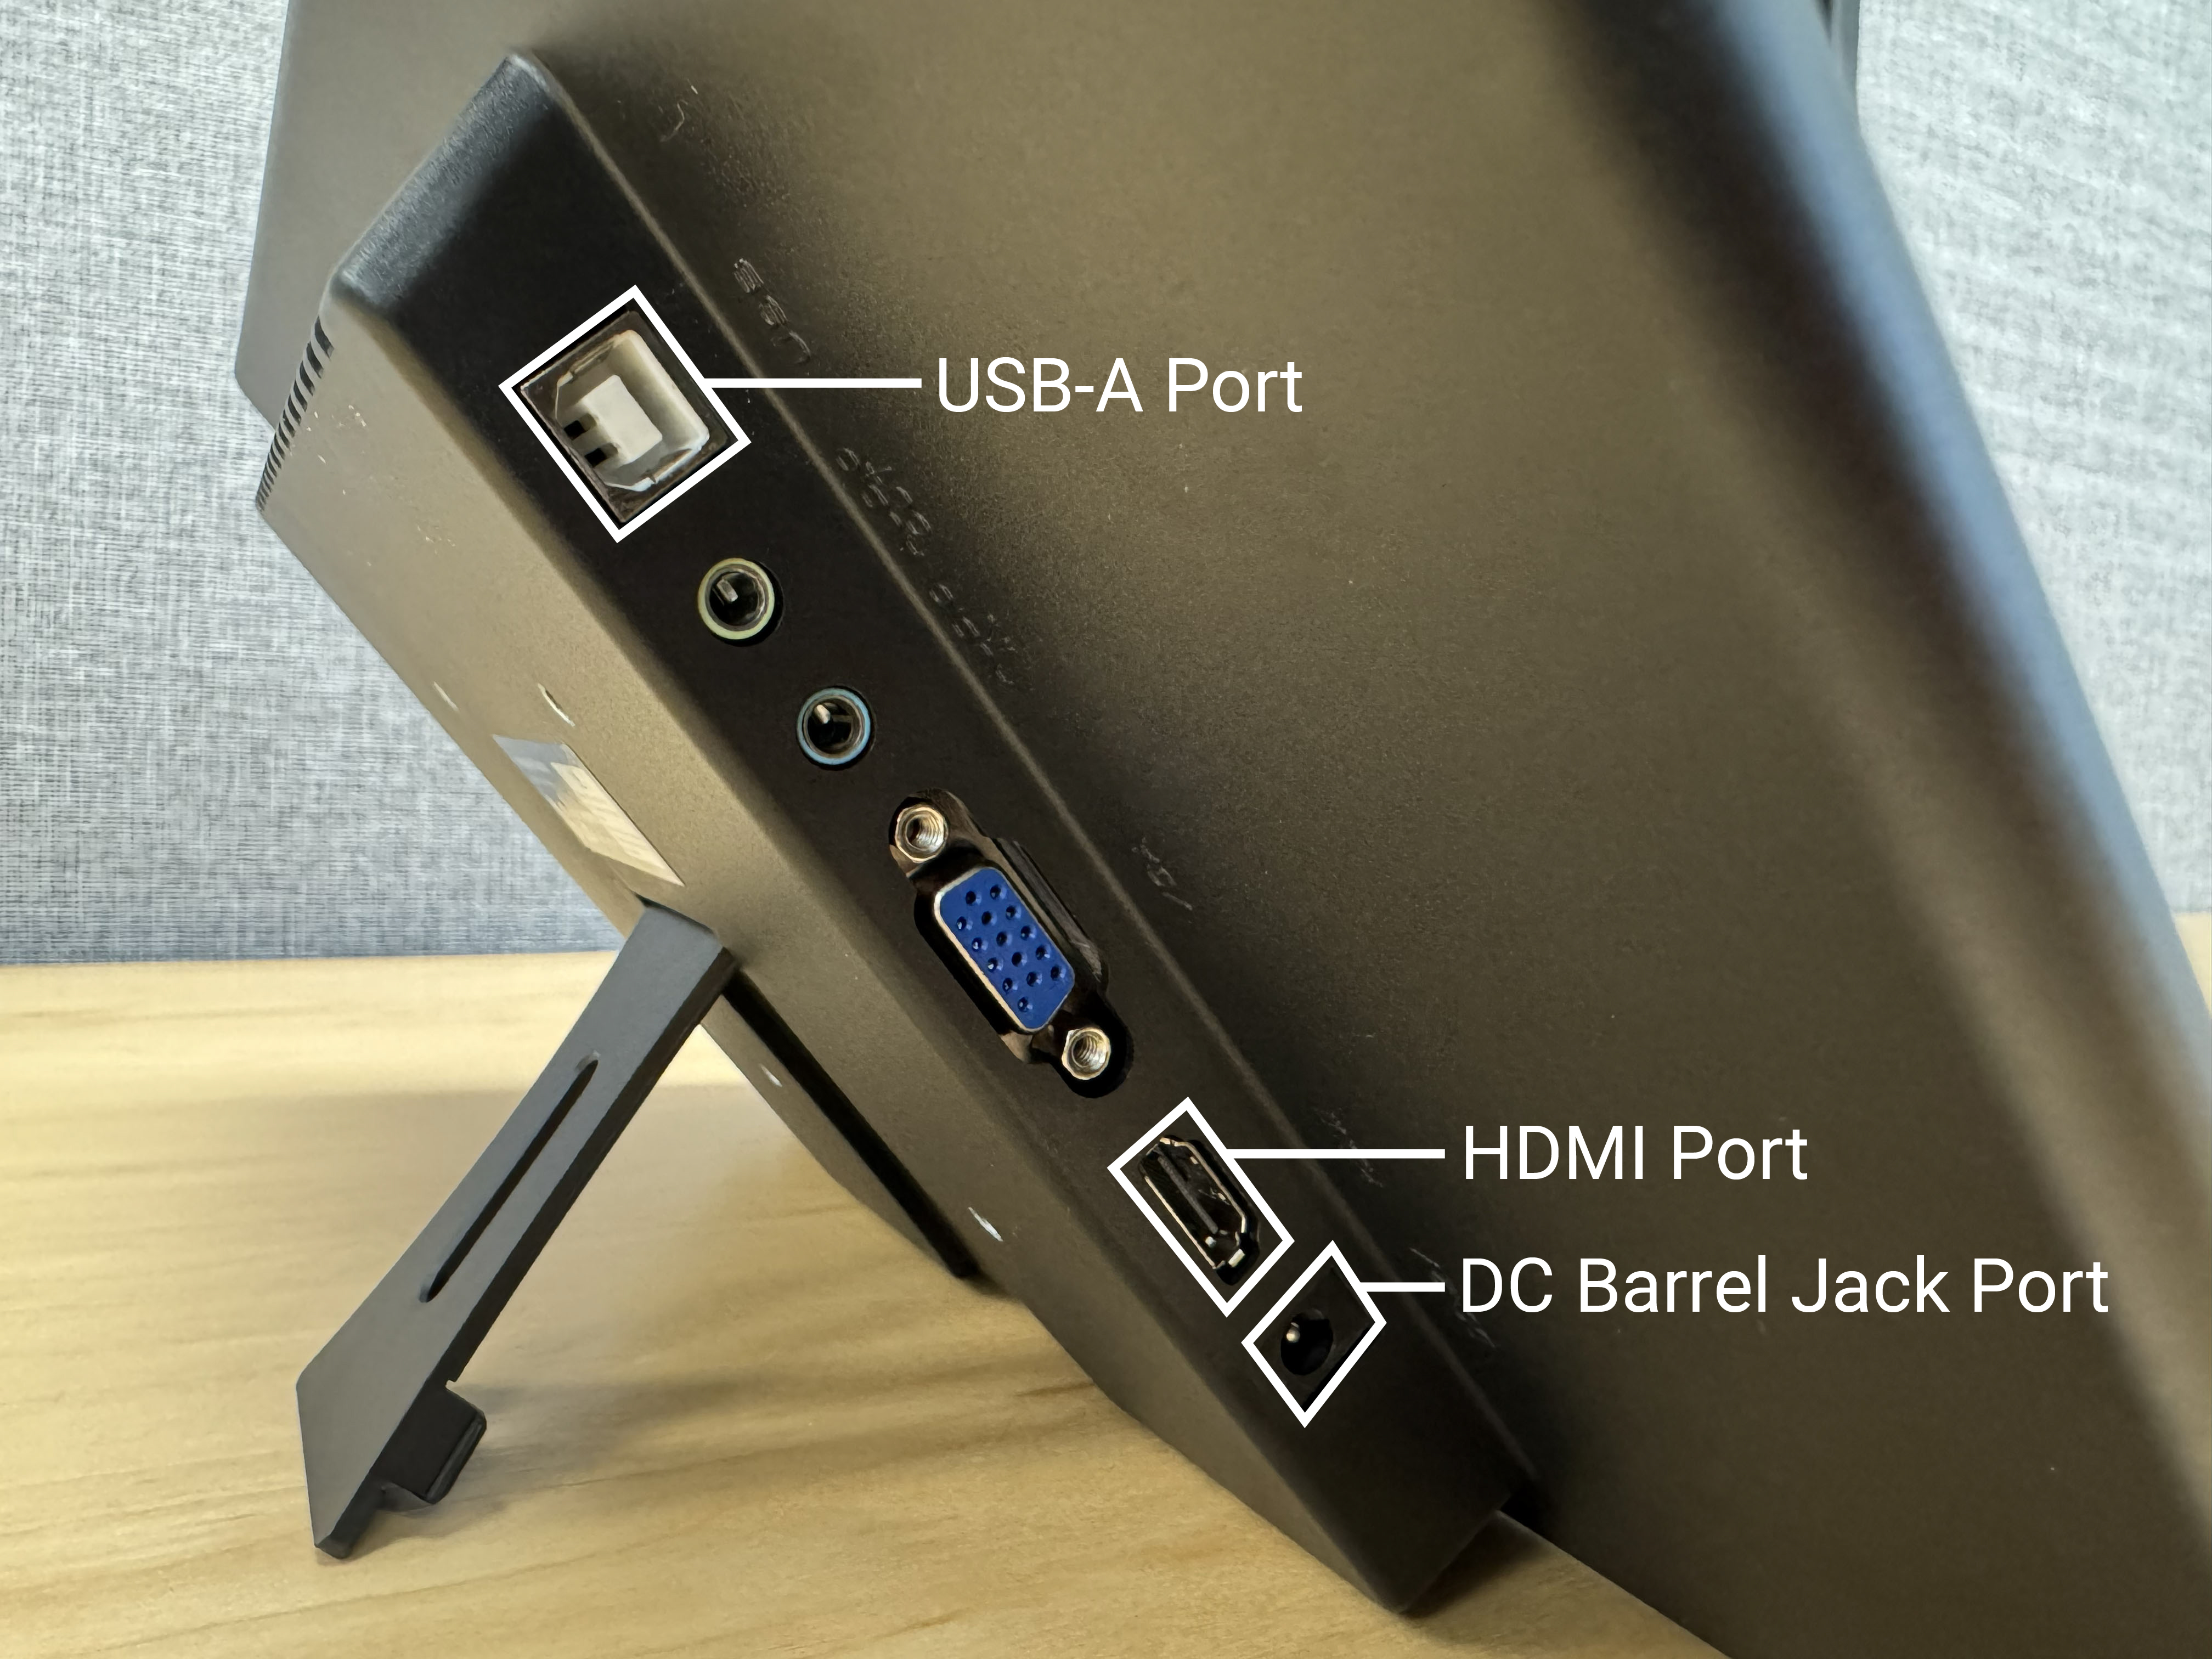
Follow these steps to physically connect the touchscreen display:
Connect the HDMI Cable
Locate an available HDMI output port on your computer
Connect one end of the HDMI cable to the HDMI port on your computer
Connect the other end to the HDMI input port on the touchscreen display
Connect the USB Cable for Touch Input
Locate the USB input port on the touchscreen display.
Connect the USB Type-A end to the touchscreen display
Connect the USB Type-B end to an available USB port on your computer
Connect the Power Supply
Locate the DC power input port on the touchscreen display.
Connect the DC barrel connector from the power supply to the power input port
Plug the power supply into a wall outlet or power strip
The screen should power on and display the startup screen
Verify Display Detection
After connecting all cables, verify the display is detected by the system:
xrandr --query | grep " connected"
Example output:
eDP-1 connected (normal left inverted right x axis y axis)
HDMI-1-0 connected 1920x1080+0+0 (normal left inverted right x axis y axis) 290mm x 172mm
DP-1-4 connected primary 1920x1080+1920+0 (normal left inverted right x axis y axis) 1394mm x 784mm
You should see your touchscreen display listed among the connected outputs (e.g., HDMI-1-0 or similar).
Software Setup
Install Required Packages
Install the necessary tools for touchscreen configuration:
sudo apt-get update
sudo apt-get install xinput x11-xserver-utils
These packages provide:
xinput: Tool for configuring and testing input devicesx11-xserver-utils: Utilities includingxrandrfor display management
Verify Touchscreen Detection
Check that the touchscreen input device is properly detected:
xinput list
Look for your touchscreen device in the output. Common names include:
TSTP MTouchTouchScreenTouchscreenDevice names containing your manufacturer name
The output will show entries like:
⎜ ↳ TSTP MTouch id=28 [slave pointer (2)]
Note the device ID number (e.g., id=28).
Important
Make sure to identify the pointer device, not the keyboard entry. Some touchscreens register multiple input types.
Configure Touchscreen Mapping
To ensure touch input works correctly, you need to map the touchscreen to the correct display.
Identify Display Outputs
List all connected displays to find the correct output name:
xrandr --query | grep " connected"
Example output:
HDMI-1-0 connected 1920x1080+0+0 (normal left inverted right x axis y axis) 527mm x 296mm
DP-1 connected primary 1920x1080+1920+0 (normal left inverted right x axis y axis) 509mm x 286mm
In this example, the display outputs are HDMI-1-0 and DP-1.
Map Touchscreen to Display
Use xinput to map the touchscreen input to the correct display output:
xinput map-to-output <device_id> <display_name>
Replace:
<device_id>: The touchscreen device ID fromxinput list(e.g.,28)<display_name>: The display output name fromxrandr(e.g.,HDMI-1-0)
Example:
xinput map-to-output 28 HDMI-1-0
Verify Touch Functionality
Test the touchscreen to confirm input is correctly mapped:
Touch different areas of the touchscreen
Verify the cursor appears at the touched location
Test all corners and edges of the display
If the touch input is not responding correctly, verify:
You used the correct device ID
You selected the correct display output name
The USB cable is properly connected
Troubleshooting
Application Opens on Wrong Monitor
If the Trossen AI Data Collection UI application opens on a different monitor than the touchscreen, you can move it using these methods:
Method 1: Using F11 (Full Screen Toggle)
Press F11 to exit full-screen mode (if the application is in full-screen)
Drag the application window to the touchscreen display
Press F11 again to return to full-screen mode on the correct display
Method 2: Using Keyboard Shortcuts
Use Shift+Windows+←/→ to move the application window between monitors:
Shift+Windows+→: Move window to the monitor on the right
Shift+Windows+←: Move window to the monitor on the left
Repeat the key combination until the window appears on the touchscreen display.
Note
On some systems, the Windows key may be labeled as “Super” or have the Ubuntu/Linux logo.
Touchscreen Not Detected
If the touchscreen doesn’t appear in xinput list:
Check USB Connection
Verify the USB cable is properly connected:
lsusb
Look for your touchscreen device in the list.
Try Different USB Port
Some touchscreens work better with specific USB ports. Try connecting to:
A different USB 2.0 or USB 3.0 port
A port directly on the motherboard (not a front panel or USB hub)
Check System Logs
View system logs for USB device detection:
dmesg | grep -i touch
Restart the System
Sometimes a system restart is needed for the touchscreen to be properly detected.