ROS 2 Quickstart Guide
Note
This guide assumes that you have completed the ROS 2 Remote Install on your remote computer.
This guide is intended to get the user familiar with the basic functions and interfaces of the ROS 2 Interface. Make sure that you have completed and are familiar with the steps taken in the Basic Usage Guide and the ROS 2 Software Setup Guide.
Get familiar with the physical robot rover (let's say... a LoCoBot WidowX-250 6DOF with lidar!) by executing the following command in a terminal ssh'ed into the LoCoBot:
$ ros2 launch interbotix_xslocobot_control xslocobot_control.launch.py robot_model:=locobot_wx250s use_base:=true use_camera:=true use_lidar:=true
Now, in a terminal on your remote computer (not via SSH), type...
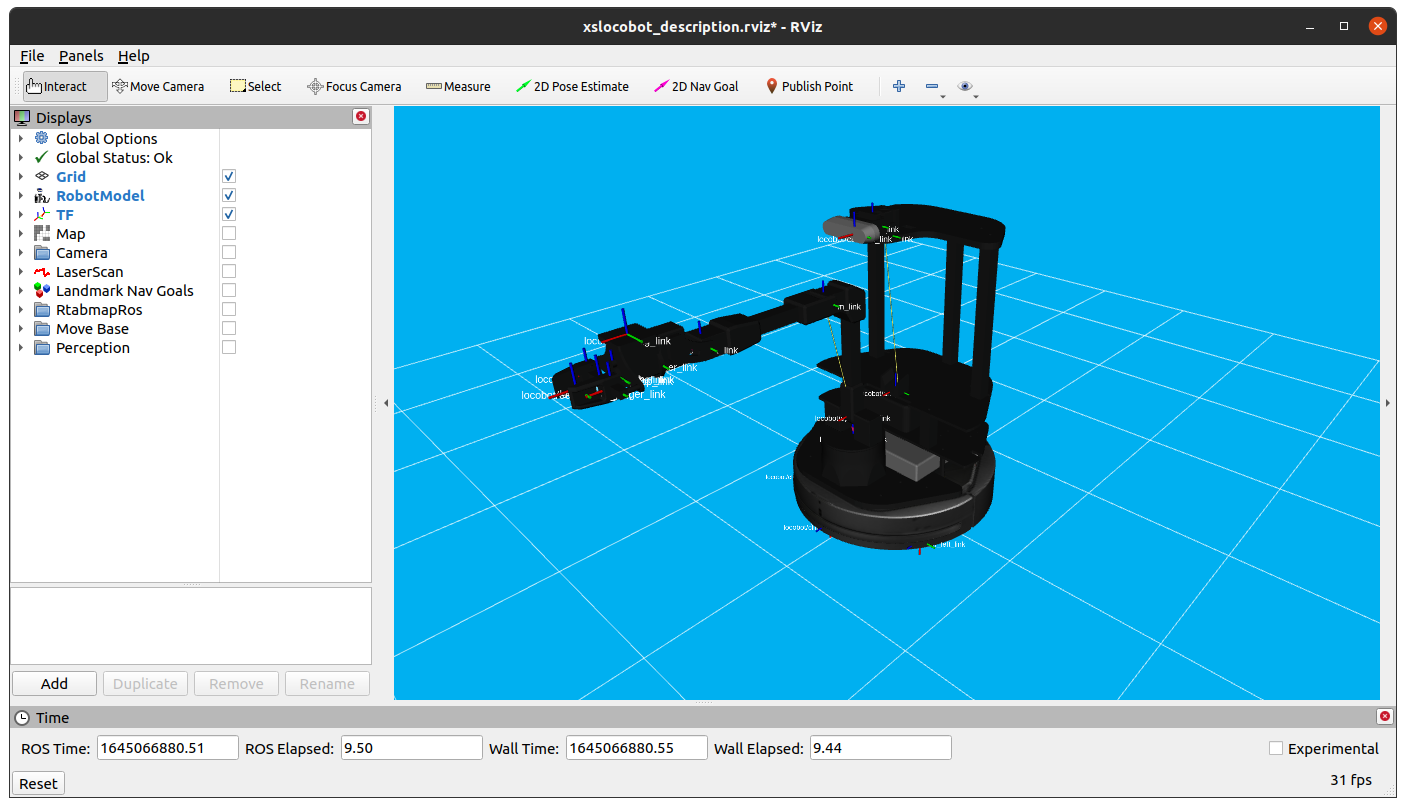
$ ros2 launch interbotix_xslocobot_descriptions remote_view.launch.py
RViz should appear on your remote computer and display a virtual real-time representation of the robot!
By default, all the DYNAMIXEL motors in the robot are torqued on so it will be very difficult to manually manipulate them. To torque off all the motors, execute the command below in another terminal (either via SSH or on your remote computer).
Warning
This command will cause the robot arm (if present) to collapse (if it's not already resting) so manually hold or secure it before executing.
$ ros2 service call /locobot/torque_enable interbotix_xs_msgs/srv/TorqueEnable "{cmd_type: 'group', name: 'all', enable: false}"
Note
The command above torques off every motor in the
allgroup. This is a special group that includes every DYNAMIXEL motor. To only torque off the arm motors, change the name fromalltoarm. Likewise, to only torque off the motors controlling the camera, change the name fromalltocamera.Group Name Servos in Group allEvery DYNAMIXEL servo on the robot armAll DYNAMIXEL servos on the arm excluding the gripper cameraAll DYNAMIXEL servos in the camera pan & tilt mechanism Now you should be able to freely manipulate the arm, gripper, and pan/tilt mechanism. Take note of how the RViz model accurately mimics the real robot. To make the robot hold a certain pose, manually hold the arm in the desired pose and execute the following command:
$ ros2 service call /locobot/torque_enable interbotix_xs_msgs/srv/TorqueEnable "{cmd_type: 'group', name: 'all', enable: true}"
You can now let go and observe how the arm and pan/tilt mechanism stay in place.
Now let's visualize the sensor output! In the RViz window, check the Camera and LaserScan (if you have a lidar) displays and adjust the topic names as necessary. You should see image data from the camera streaming in the lower left corner of the window, and small red pixels being displayed in the RViz grid from the lidar.
To move the base with a translational velocity of 0.5 m/s and angular velocity of 0.3 rad/s, type the following in another terminal...
Warning
This command will cause the base to drive forward and to its left for around three seconds. Make sure there is nothing in the robot's path before running it.
# create 3
$ ros2 topic pub --rate 10 --times 30 /locobot/mobile_base/cmd_vel geometry_msgs/Twist '{linear: {x: 0.5, y: 0.0, z: 0.0}, angular: {x: 0.0, y: 0.0, z: 0.3}}'
You can stop the base's movement at any time by pressing Ctrl + C the publisher's terminal.
Shutdown all nodes by pressing Ctrl + C in the terminal where you started the launch file.
Another way to check if all functions work is to launch the Joystick Control package. This package allows you to control your LoCoBot using a Bluetooth controller. Check the package's usage section for more details.
That ends the quickstart tutorial. To get familiar with the architecture and launch file arguments, refer to the documentation of the core packages. Start with the LoCoBot Descriptions package, then the LoCoBot Control package. Next, look at the Gazebo Configuration package followed by the ROS Controllers Configuration and MoveIt Configuration packages. This is the most logical approach to take to gain a better understanding of how they relate to each other.
Afterwards, feel free to check out the demo projects like Joystick Control, or any of the other ROS Open Source Packages.