Hardware Setup
This section details the hardware setup for your CR-Series Cobot.
- Unbox the robot and mount it securely in your workstation. More details on how to mount your robot can be found in the Mounting section.
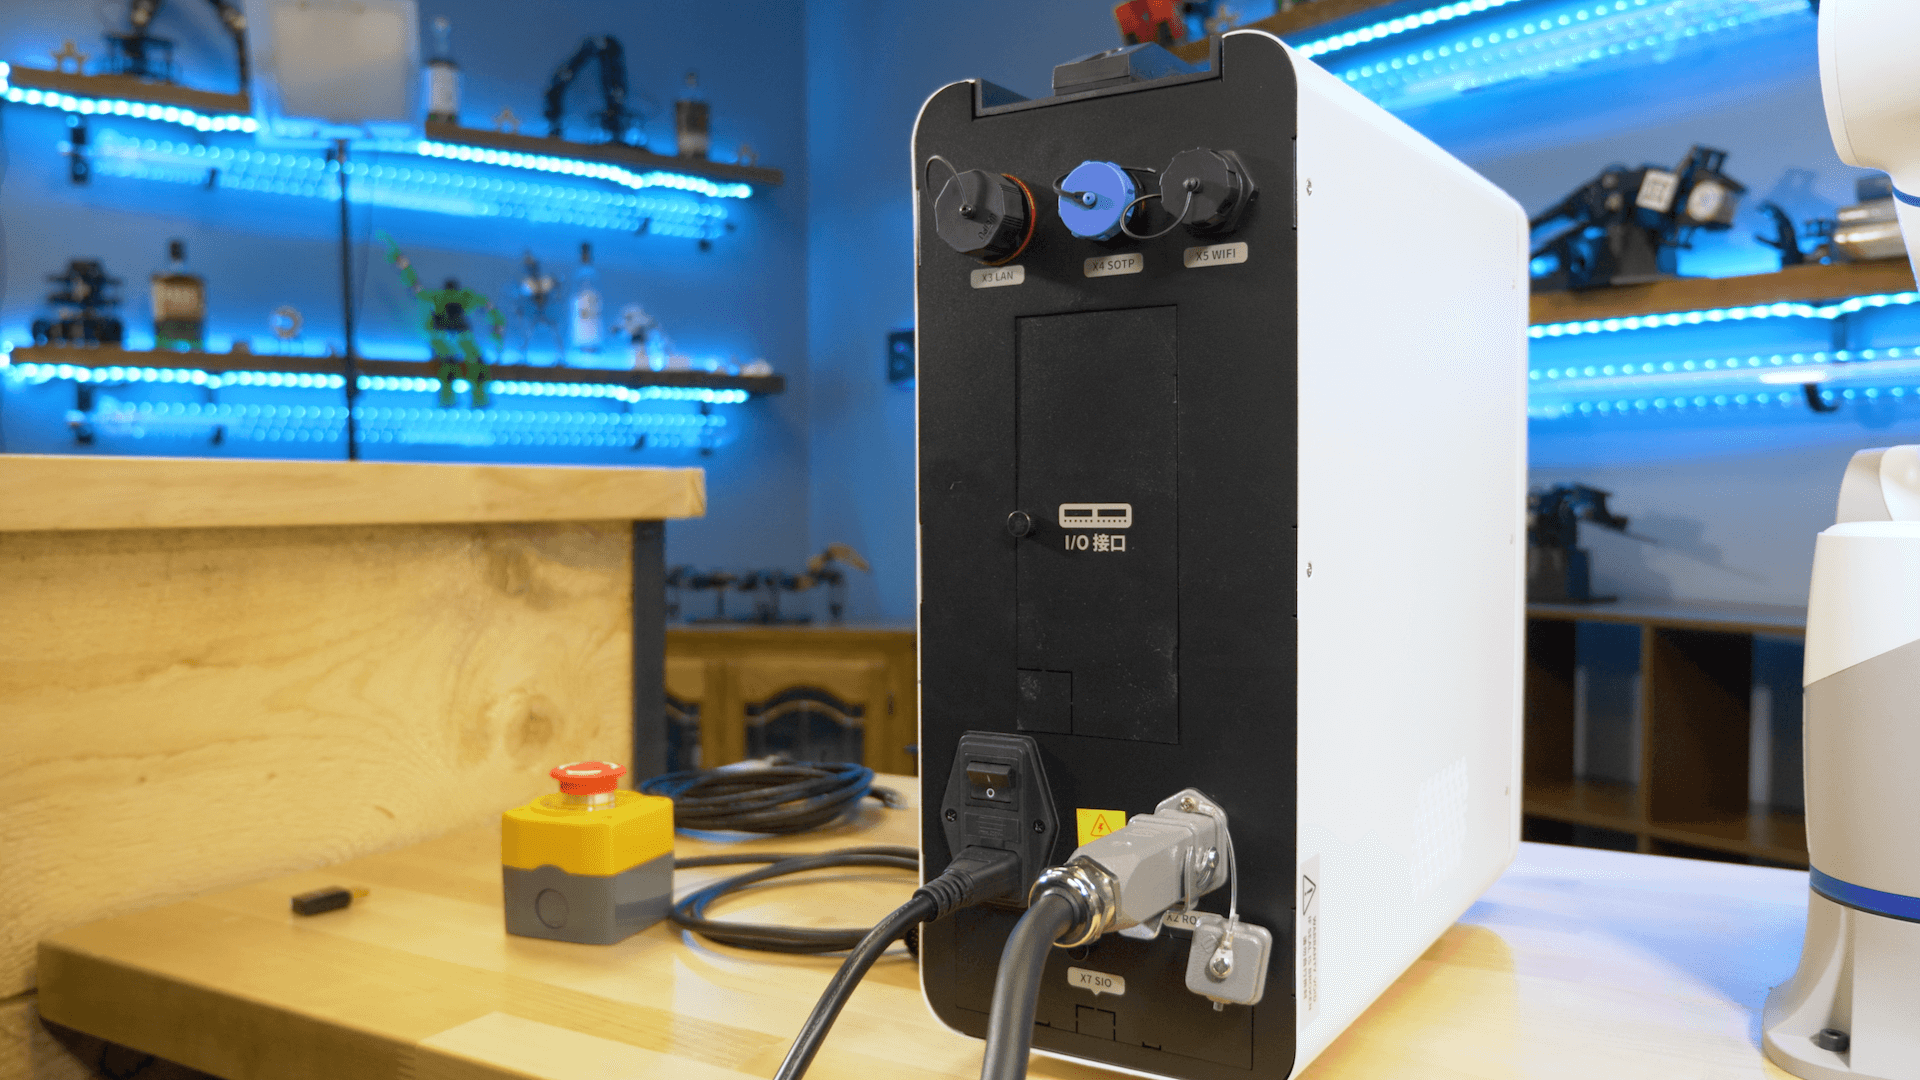
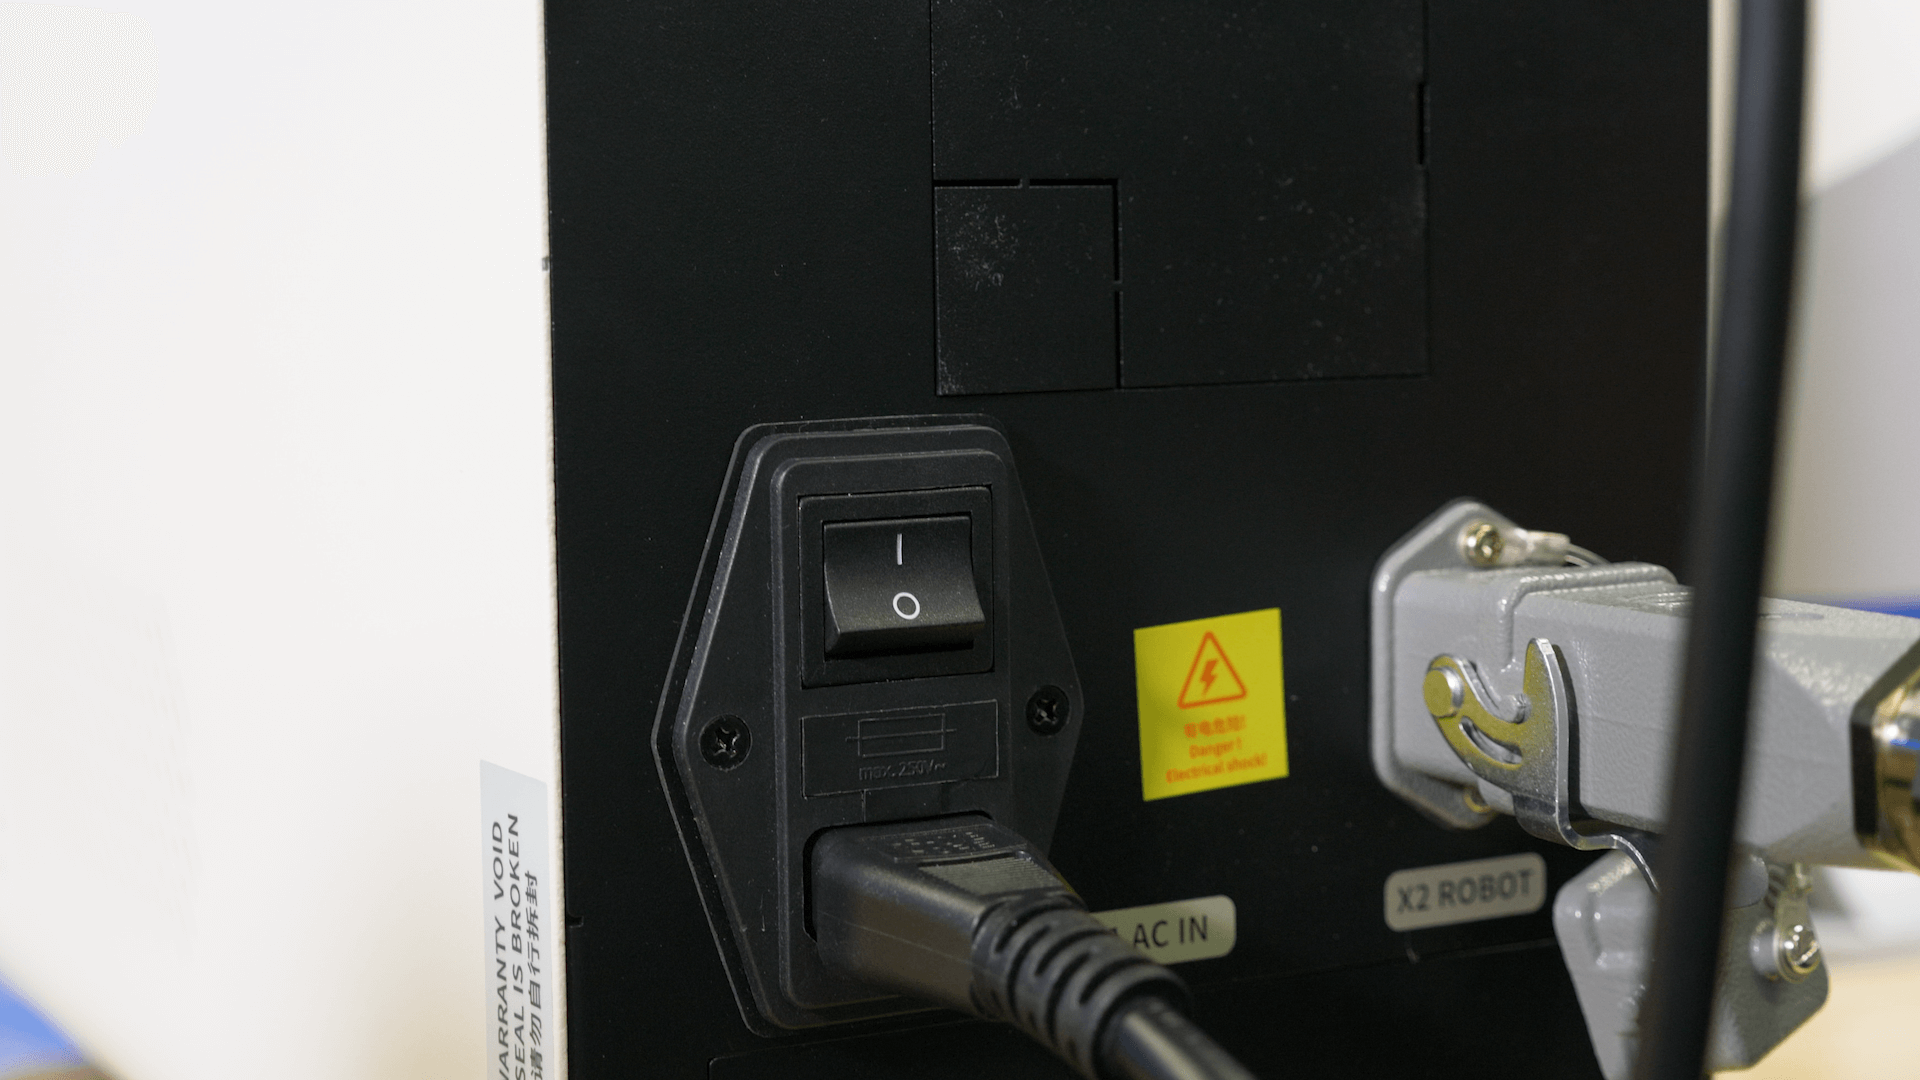
- Plug the power and control cable from the back of the controller to the port on the robot.


- Plug the wall power cable into a wall outlet and to the back of the controller.
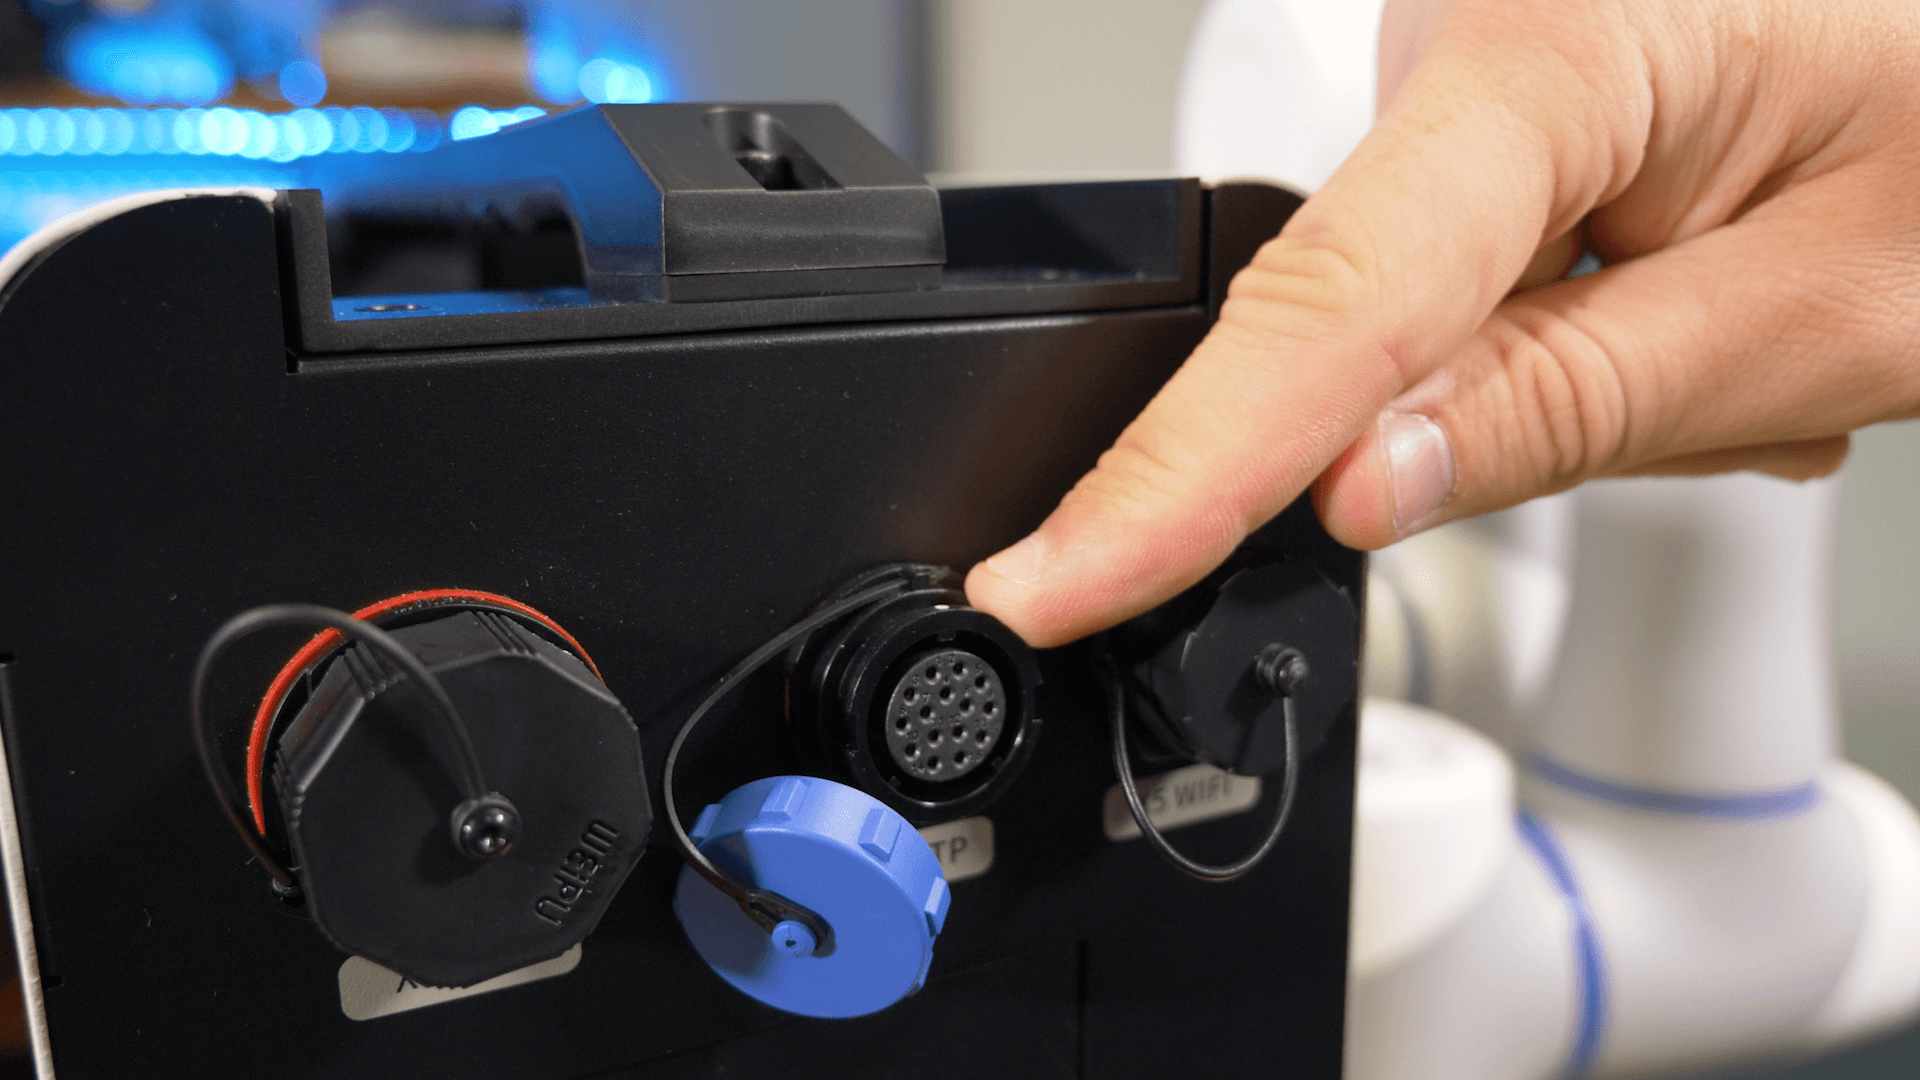
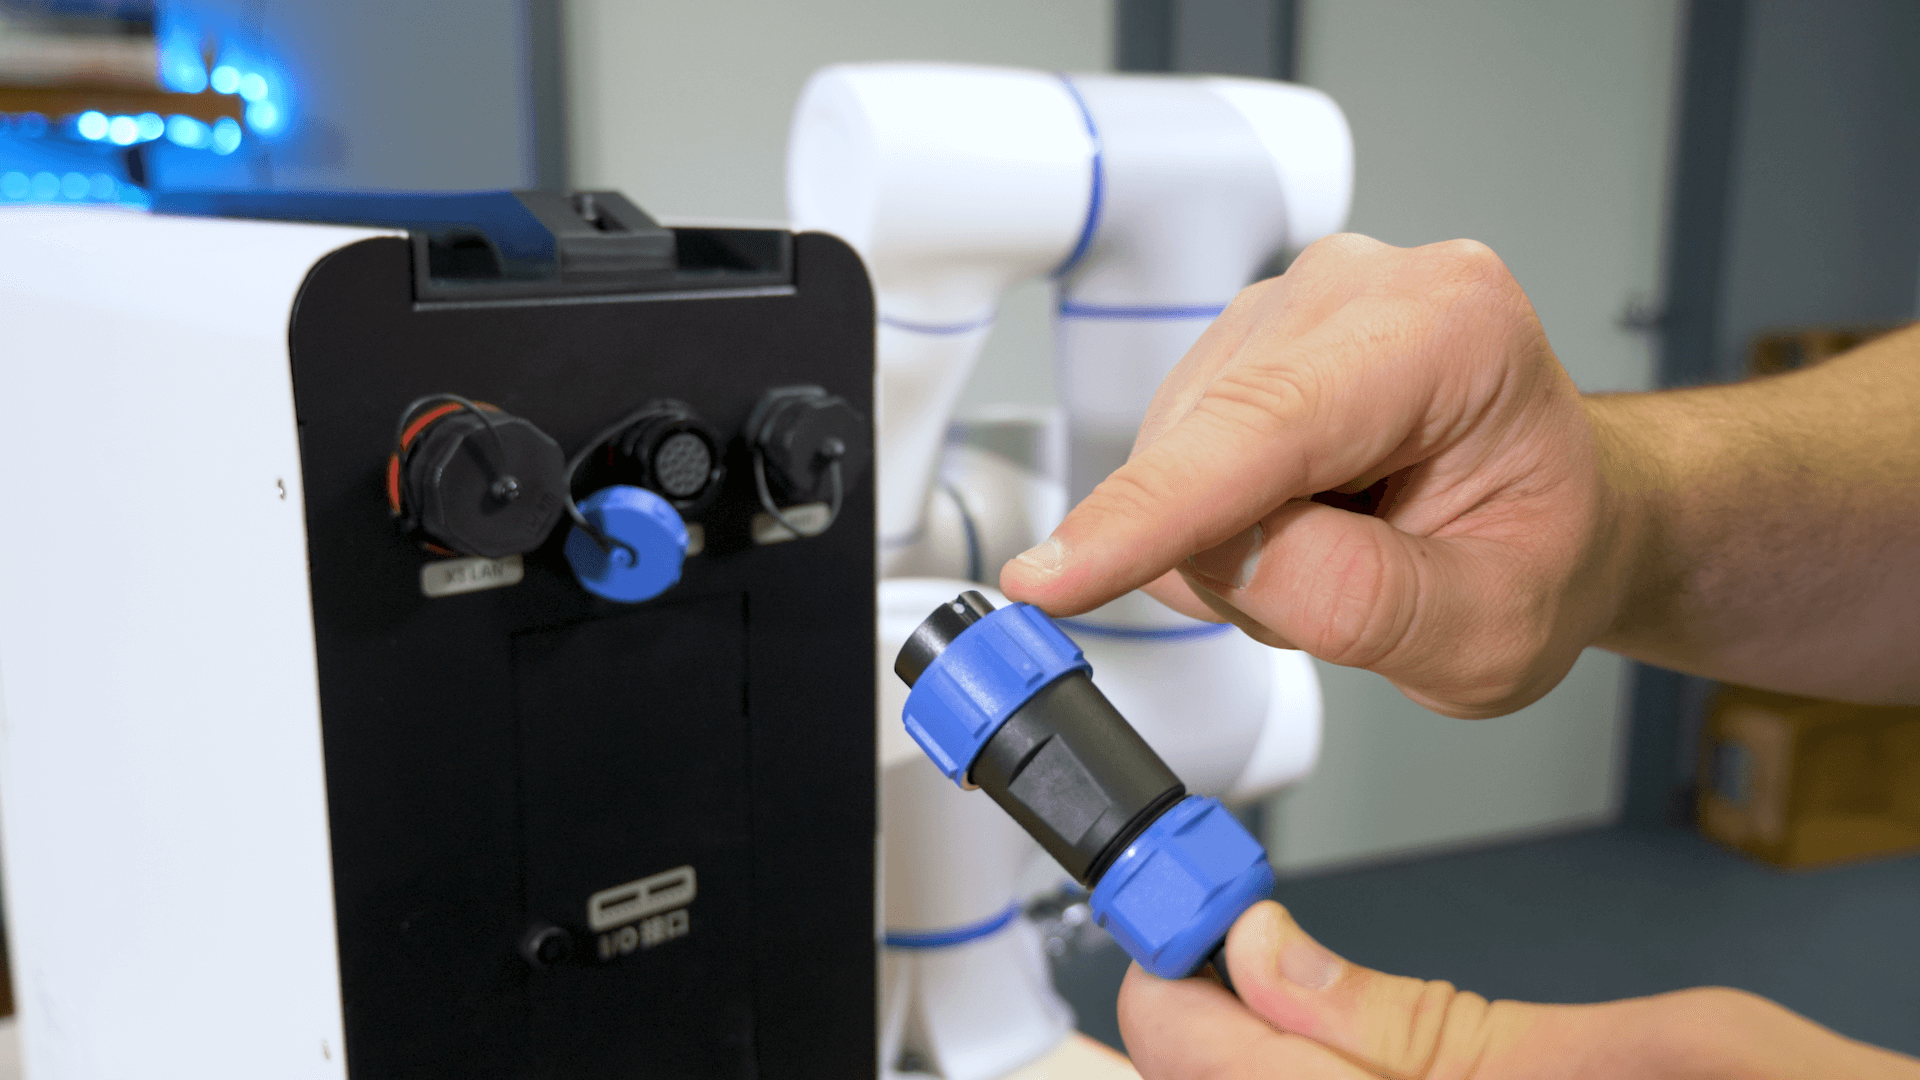
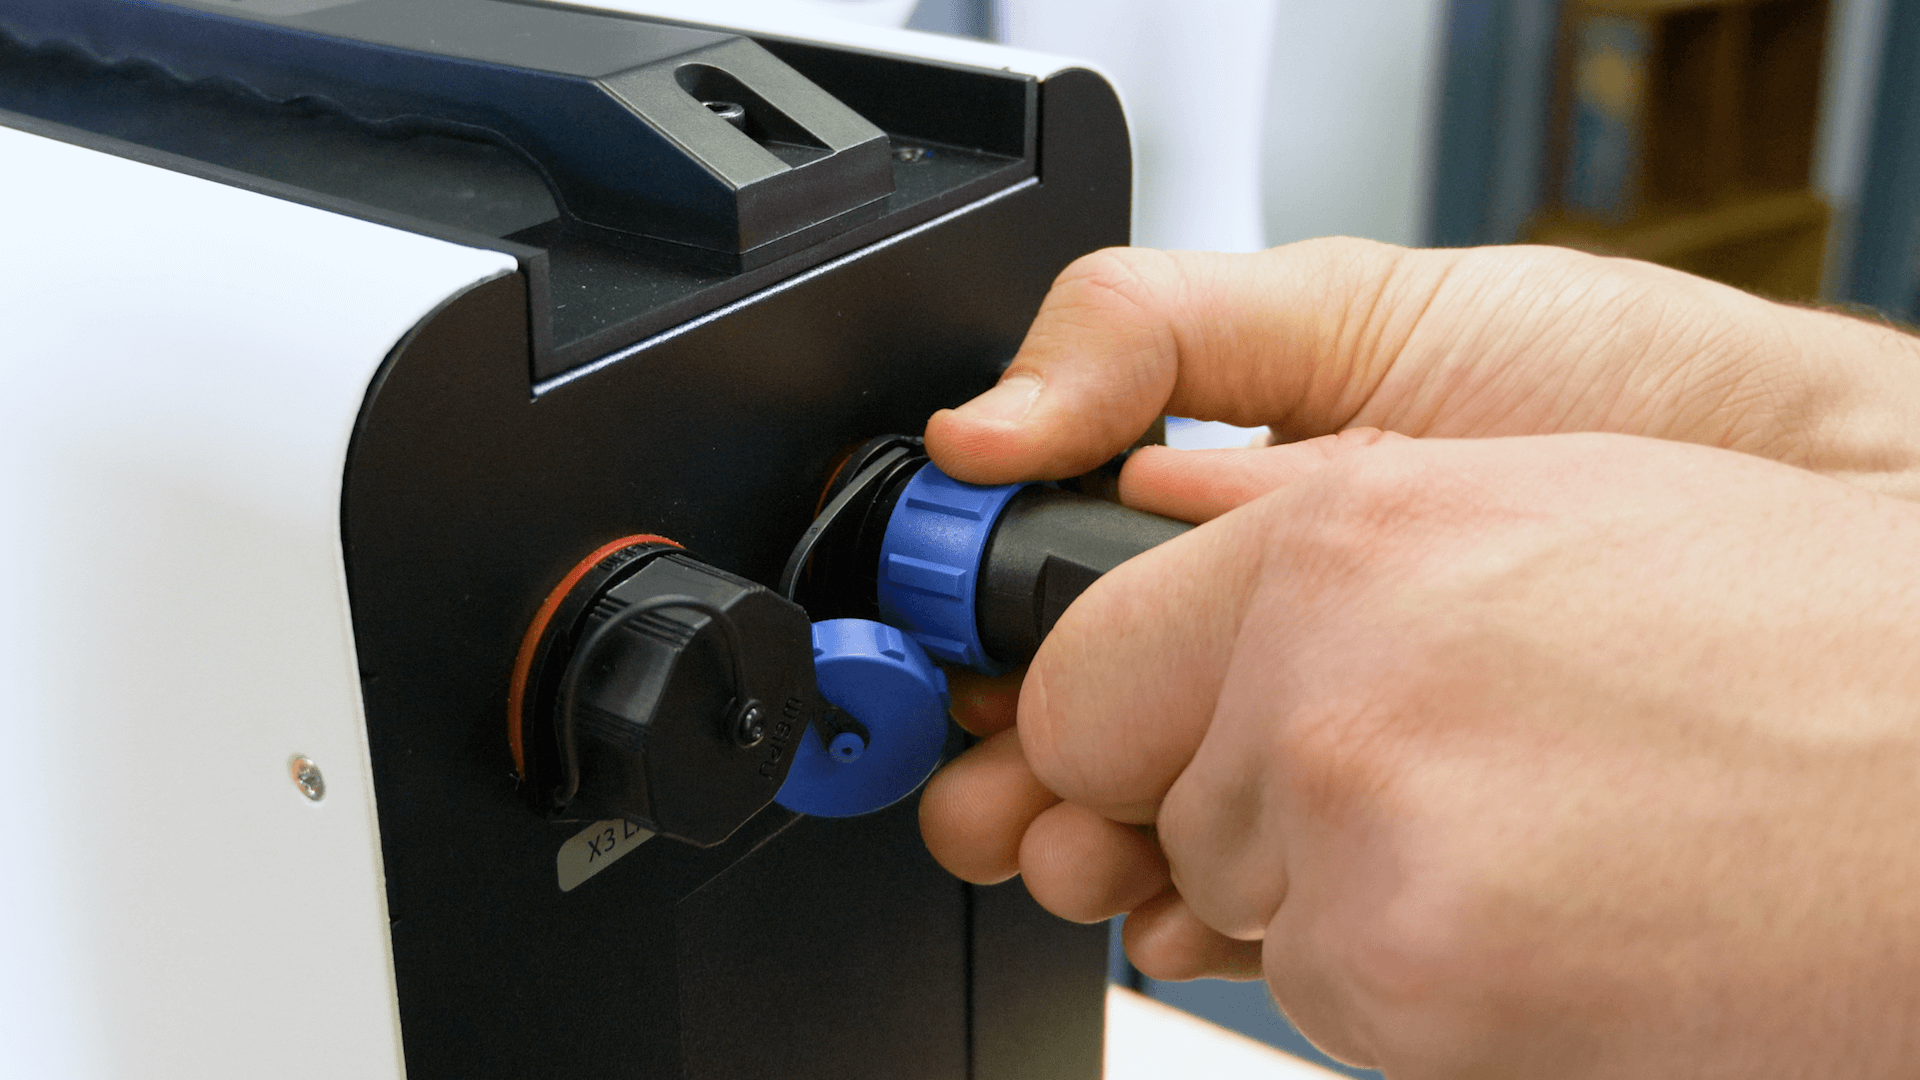
- Uncap the middle connector at the top of the controller. Plug in the emergency stop connector. Make sure the white dots at the top of the connectors are aligned.
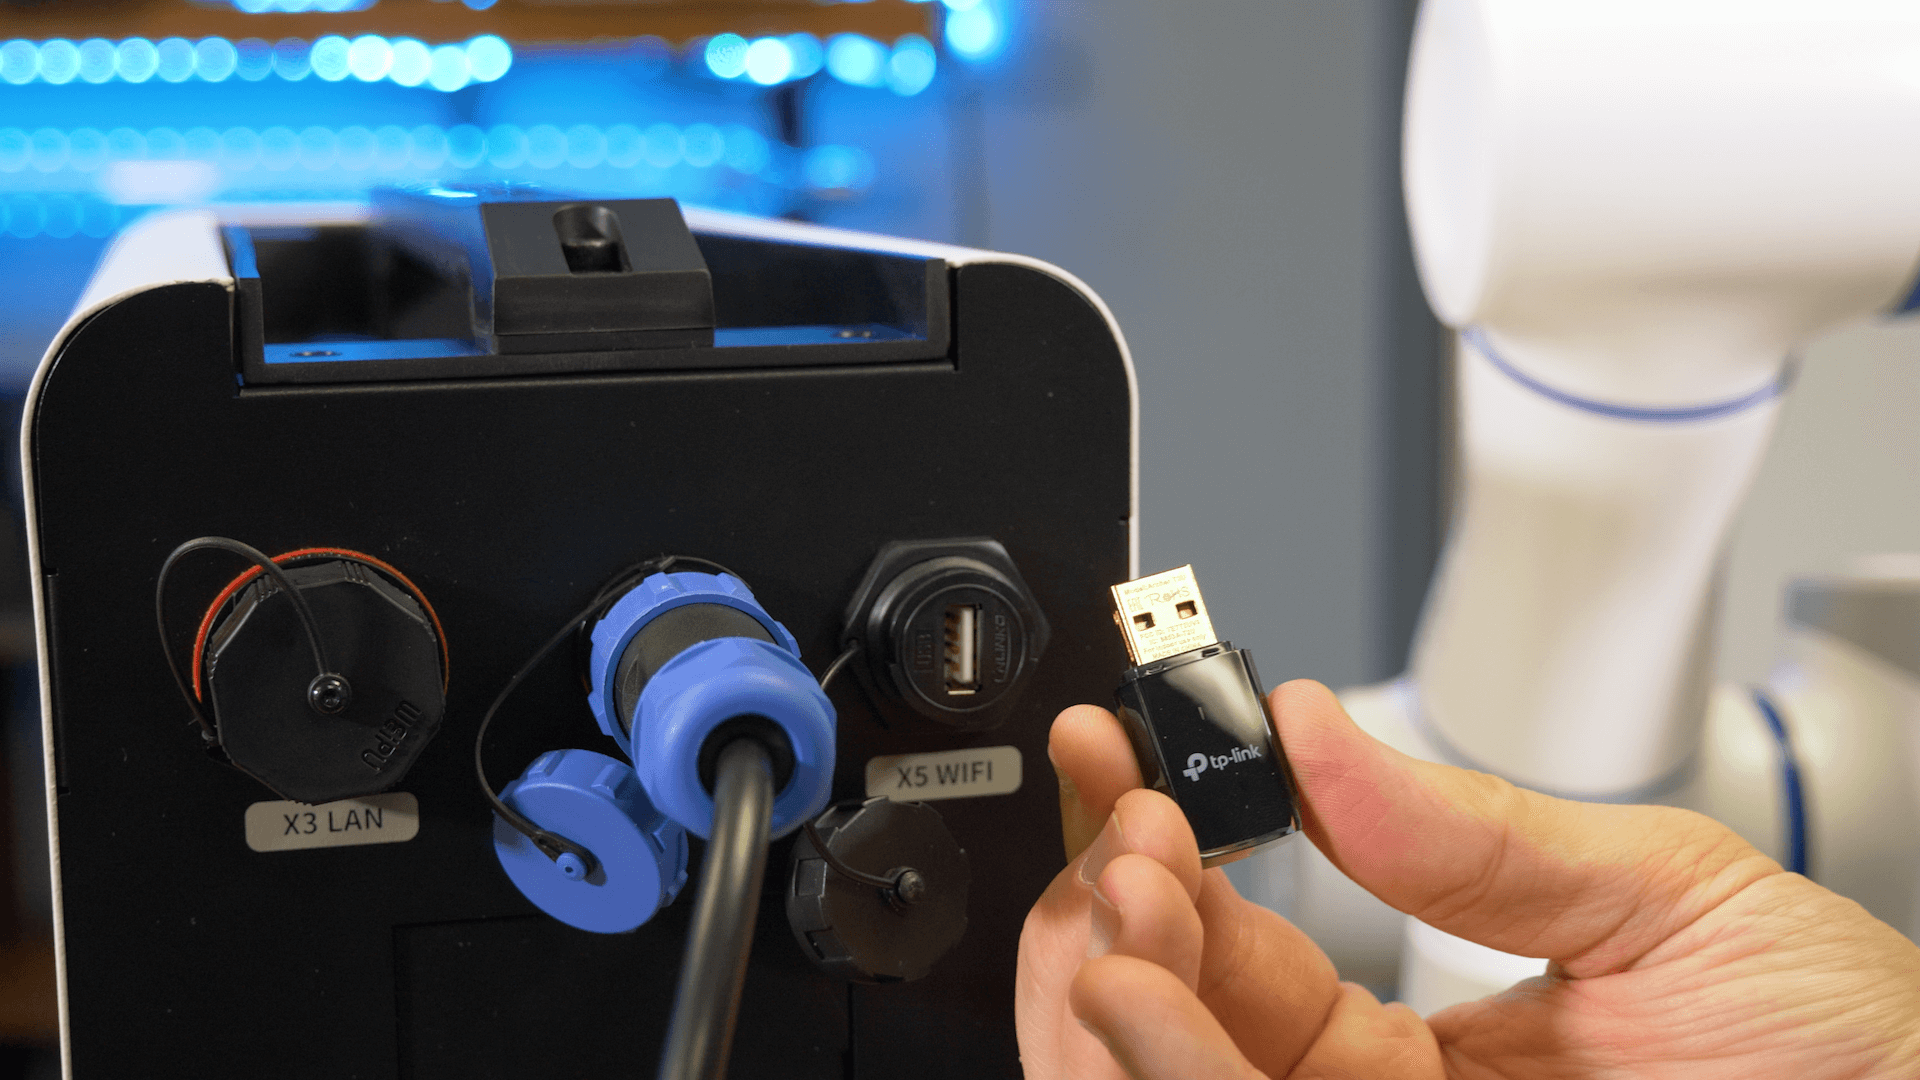
- If using wifi, plug your wifi dongle into the usb port.
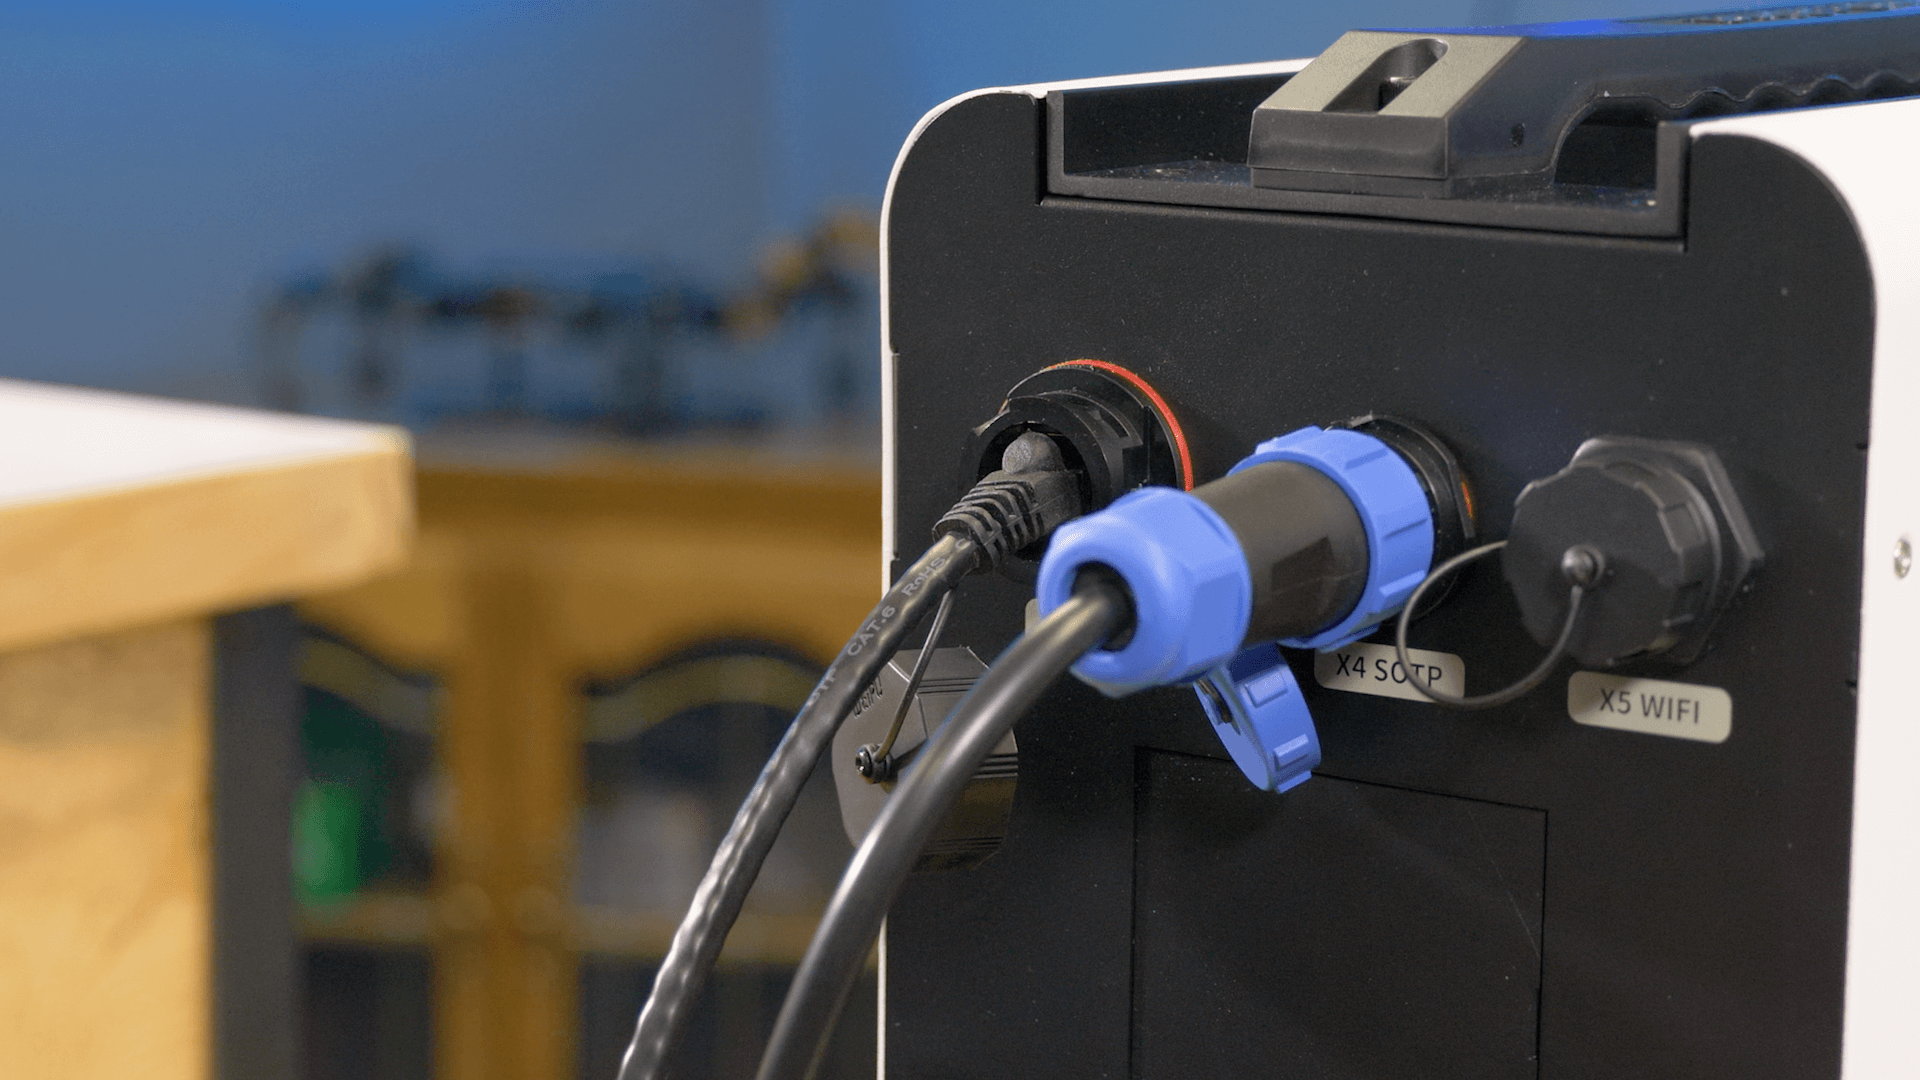
- If using ethernet, plug your ethernet cable into the ethernet port.
- Flick the switch at the bottom of the controller to the on position.
- Turn the controller on.
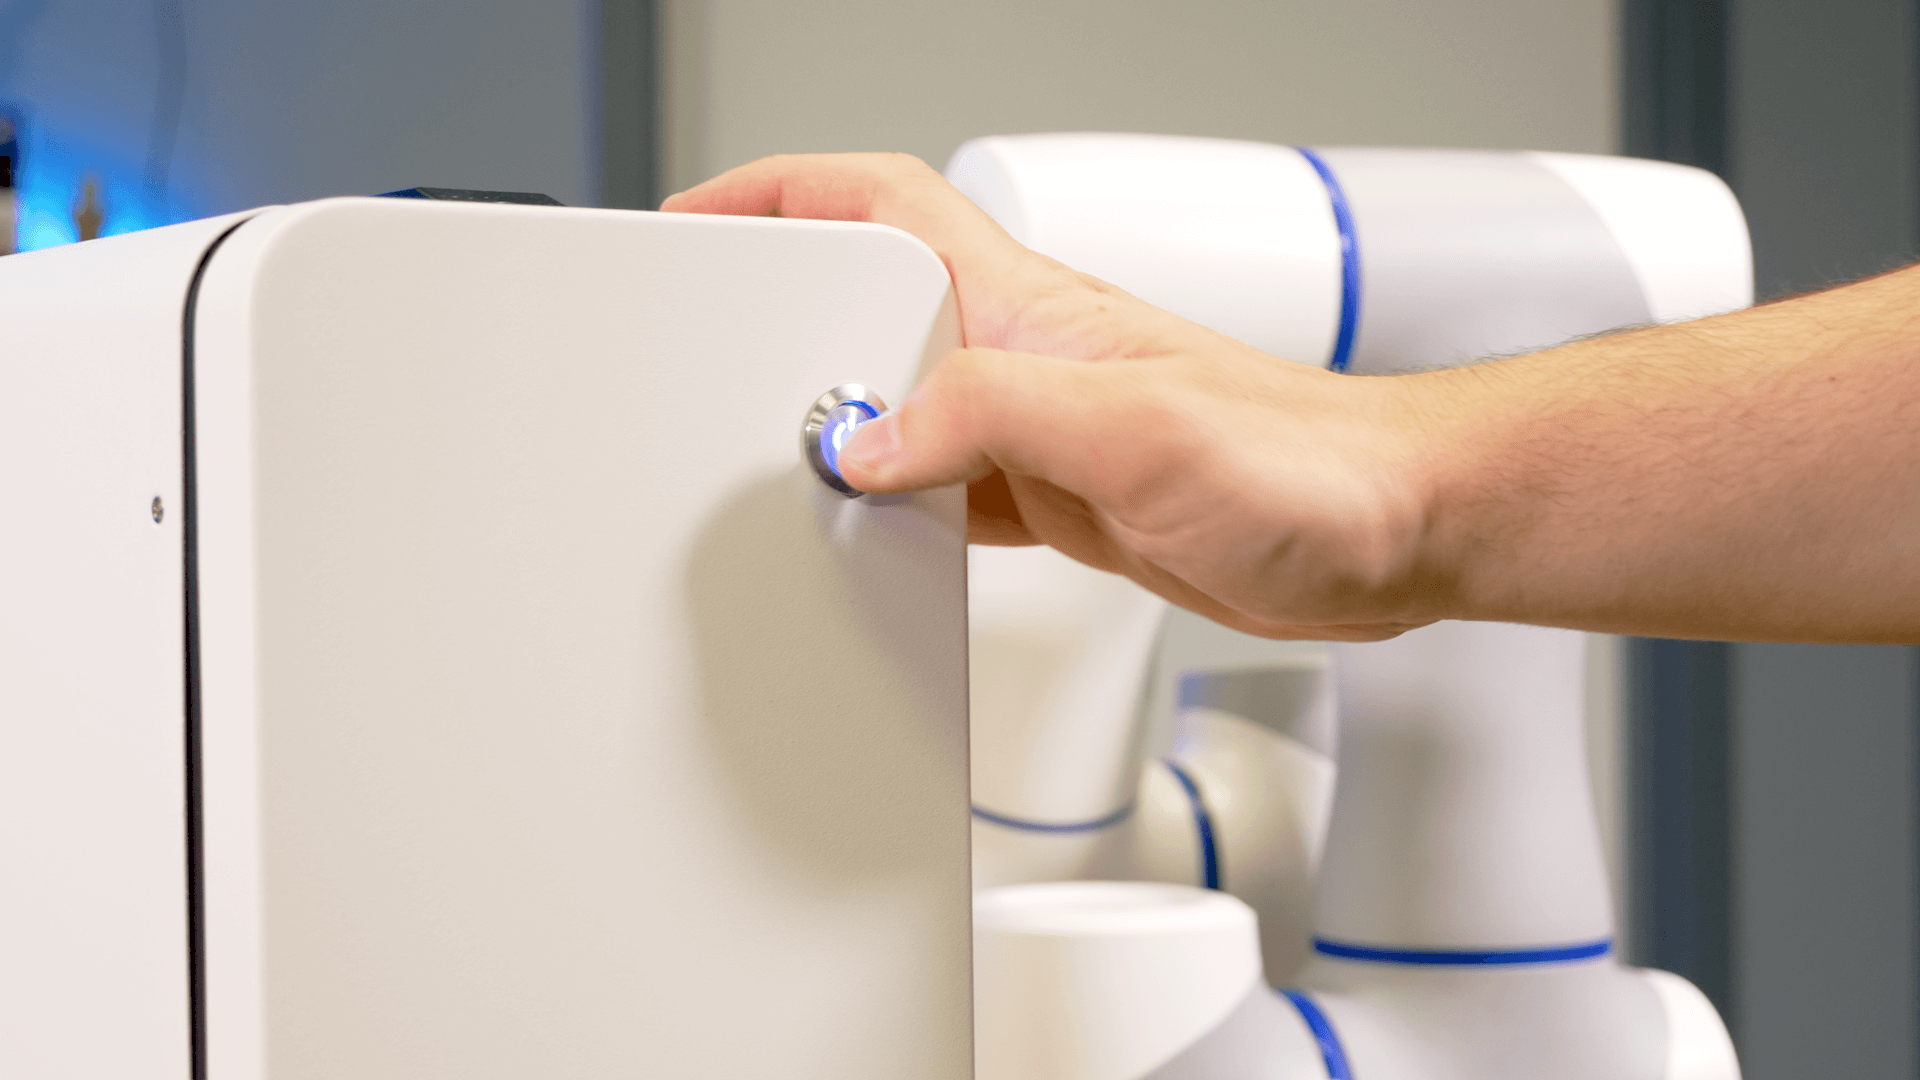
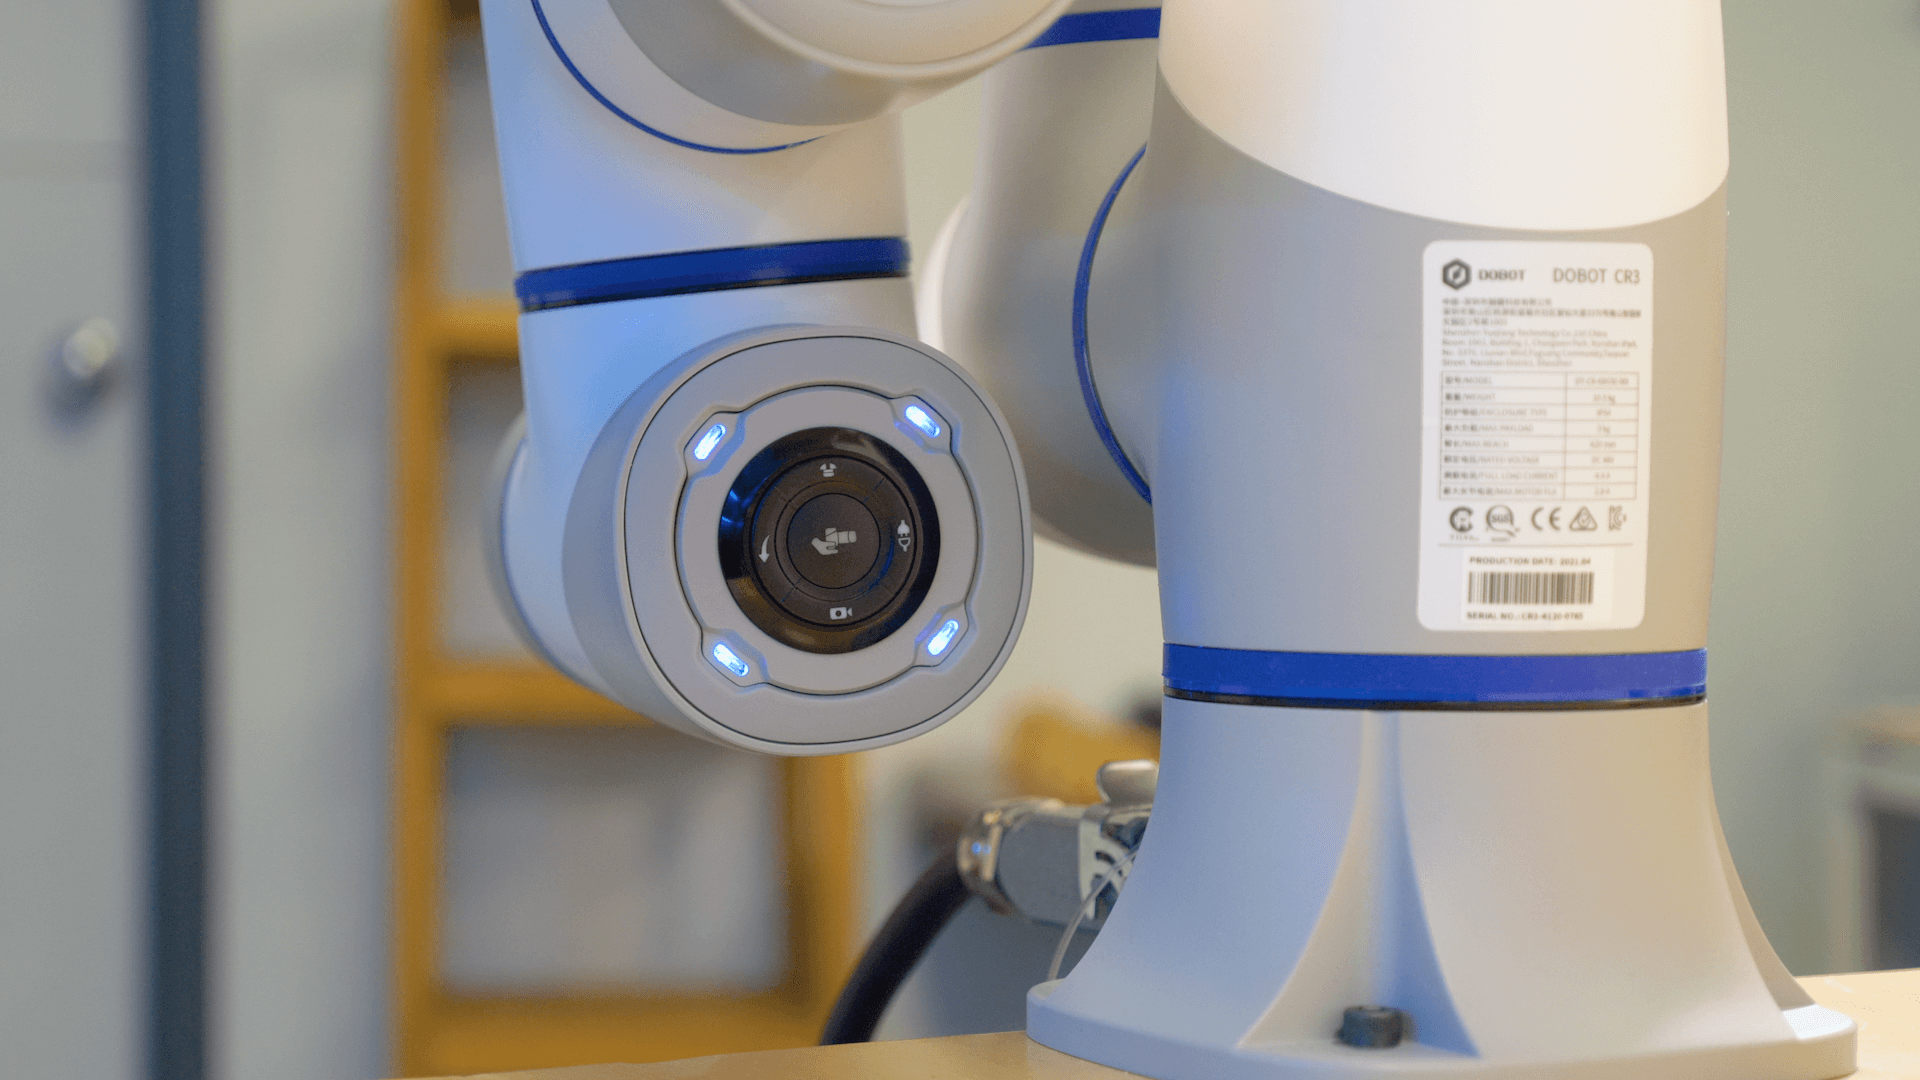
- Watch for the blinking lights on the button panel of the robot, indicating that the robot is powered on.