Simulation Table Setup
Note
The LIMO does not come with the Simulation Table by default. You must have bought it from us with the LIMO Simulation Table package.
Build the Bottom Plate
Arrange the plates according to the diagrams below.

|
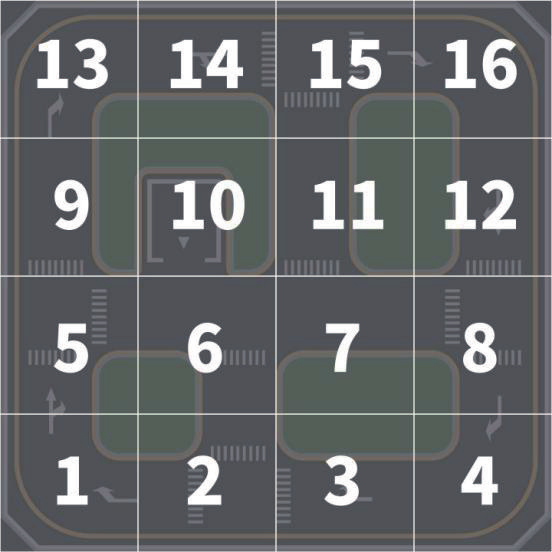
|
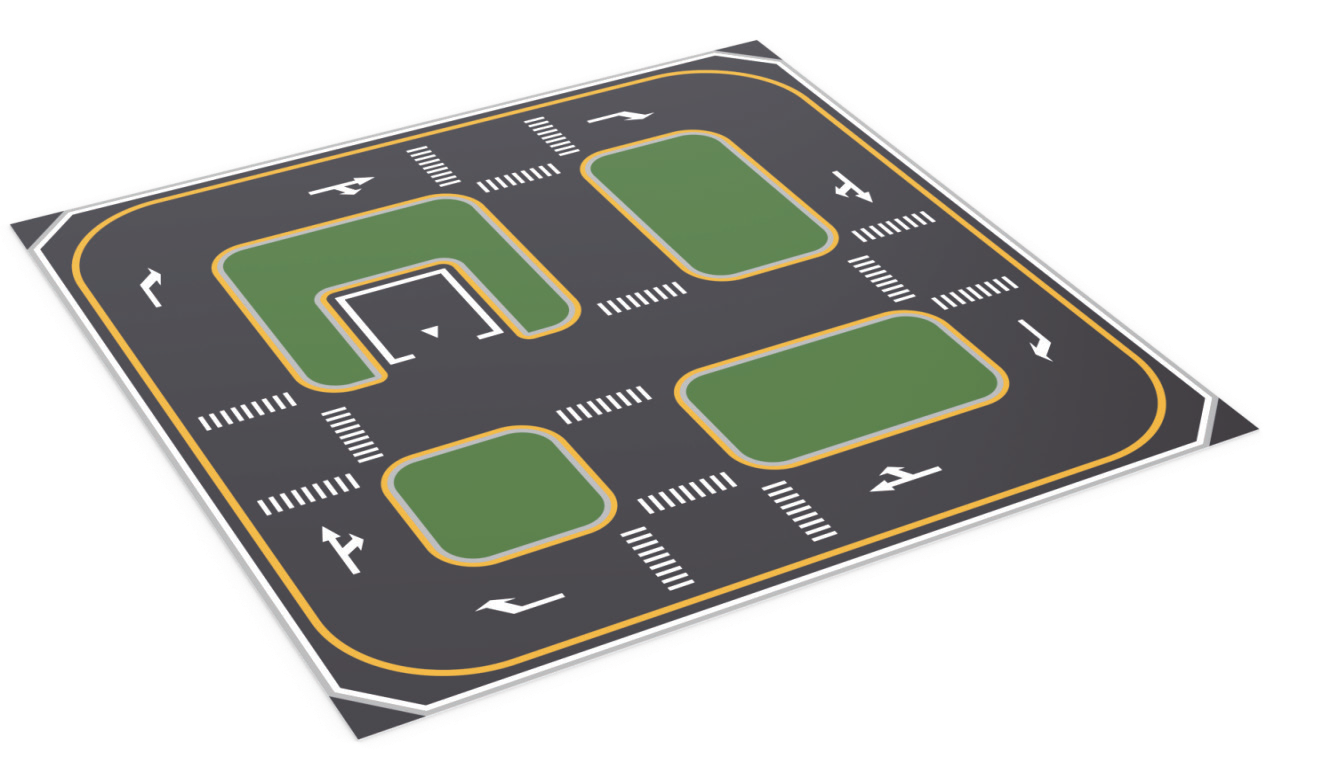
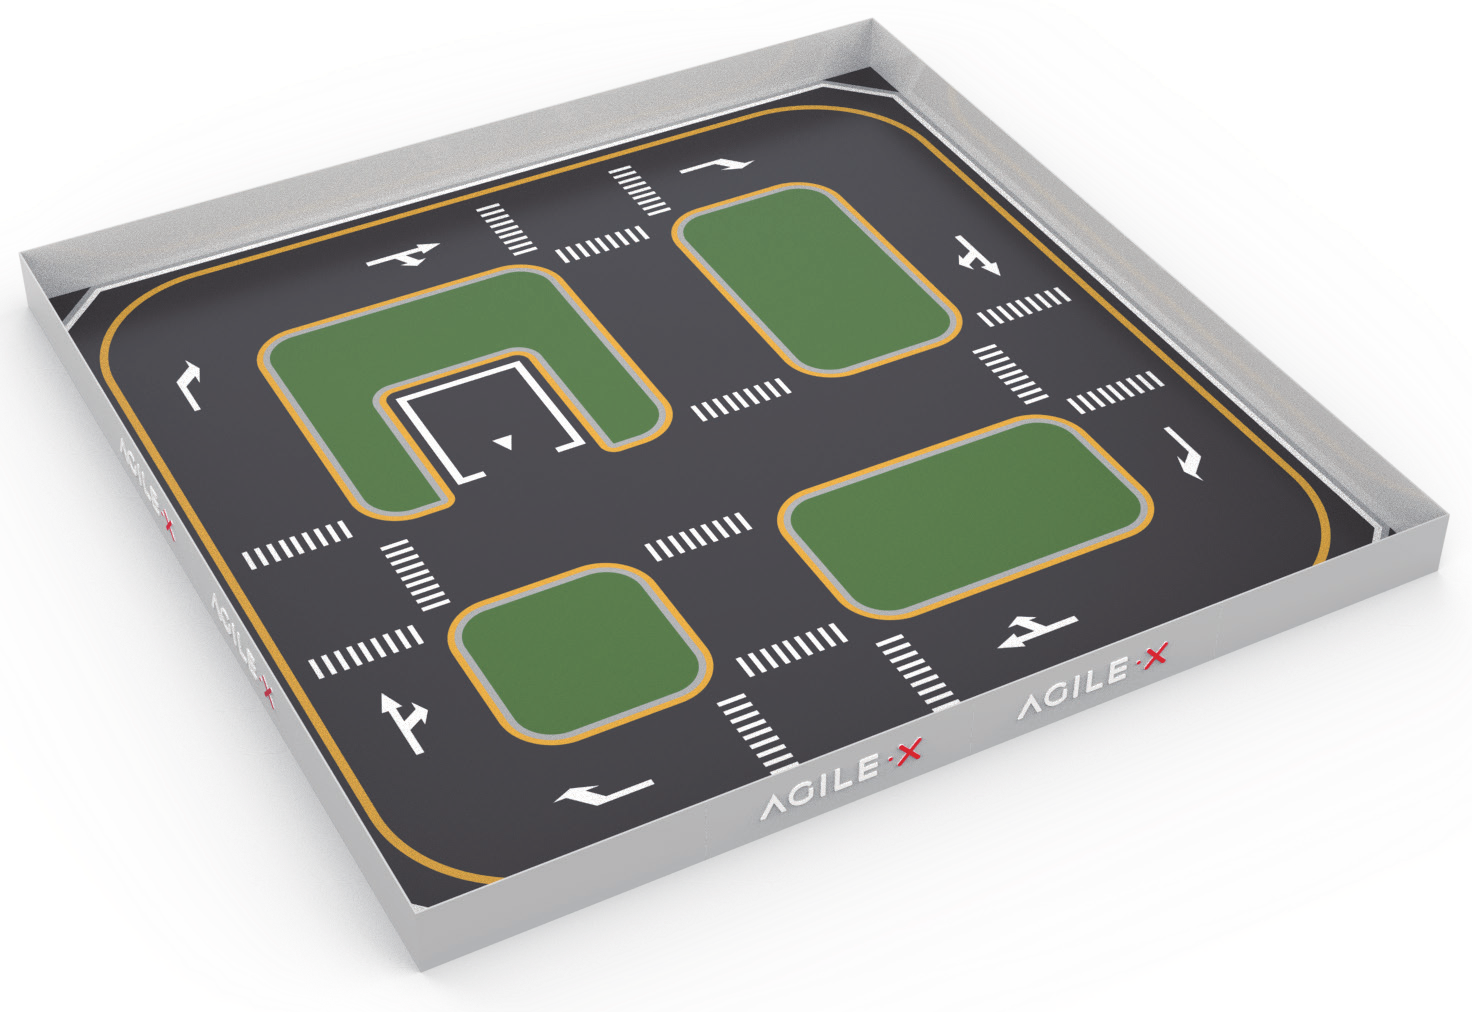
The table should look like the image below when completed.
Build the Border
Enclose the border around the Table and fix the border with the L and U-shaped buckles. The two borders in the middle of each side are patterned, the other two are not.
|
|
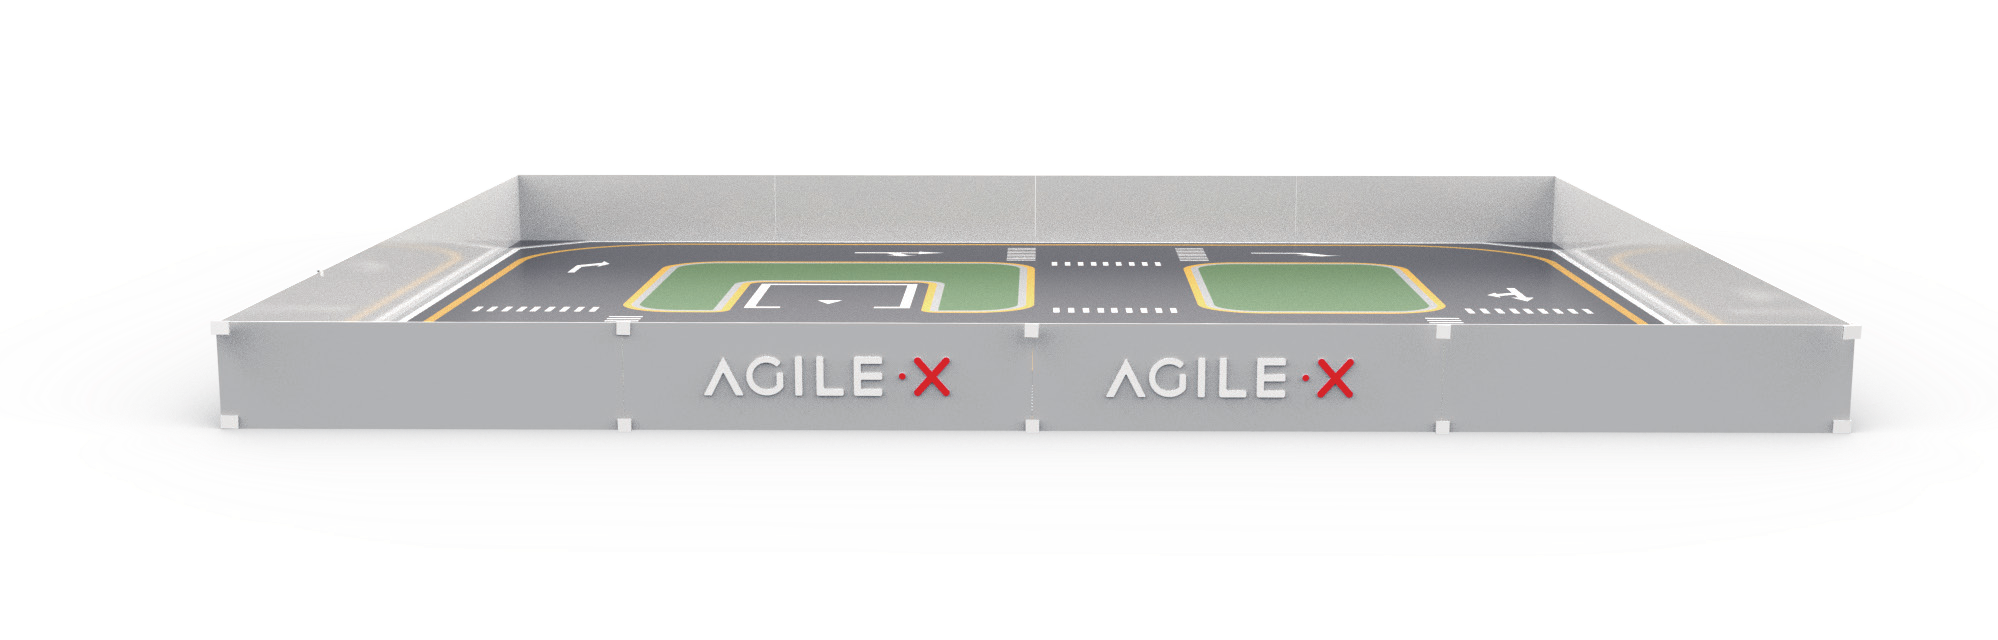
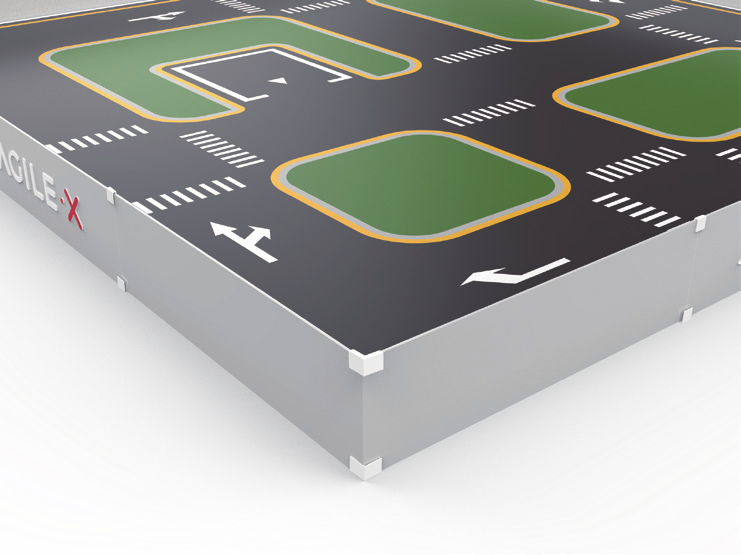
The border should look like the image below when completed.
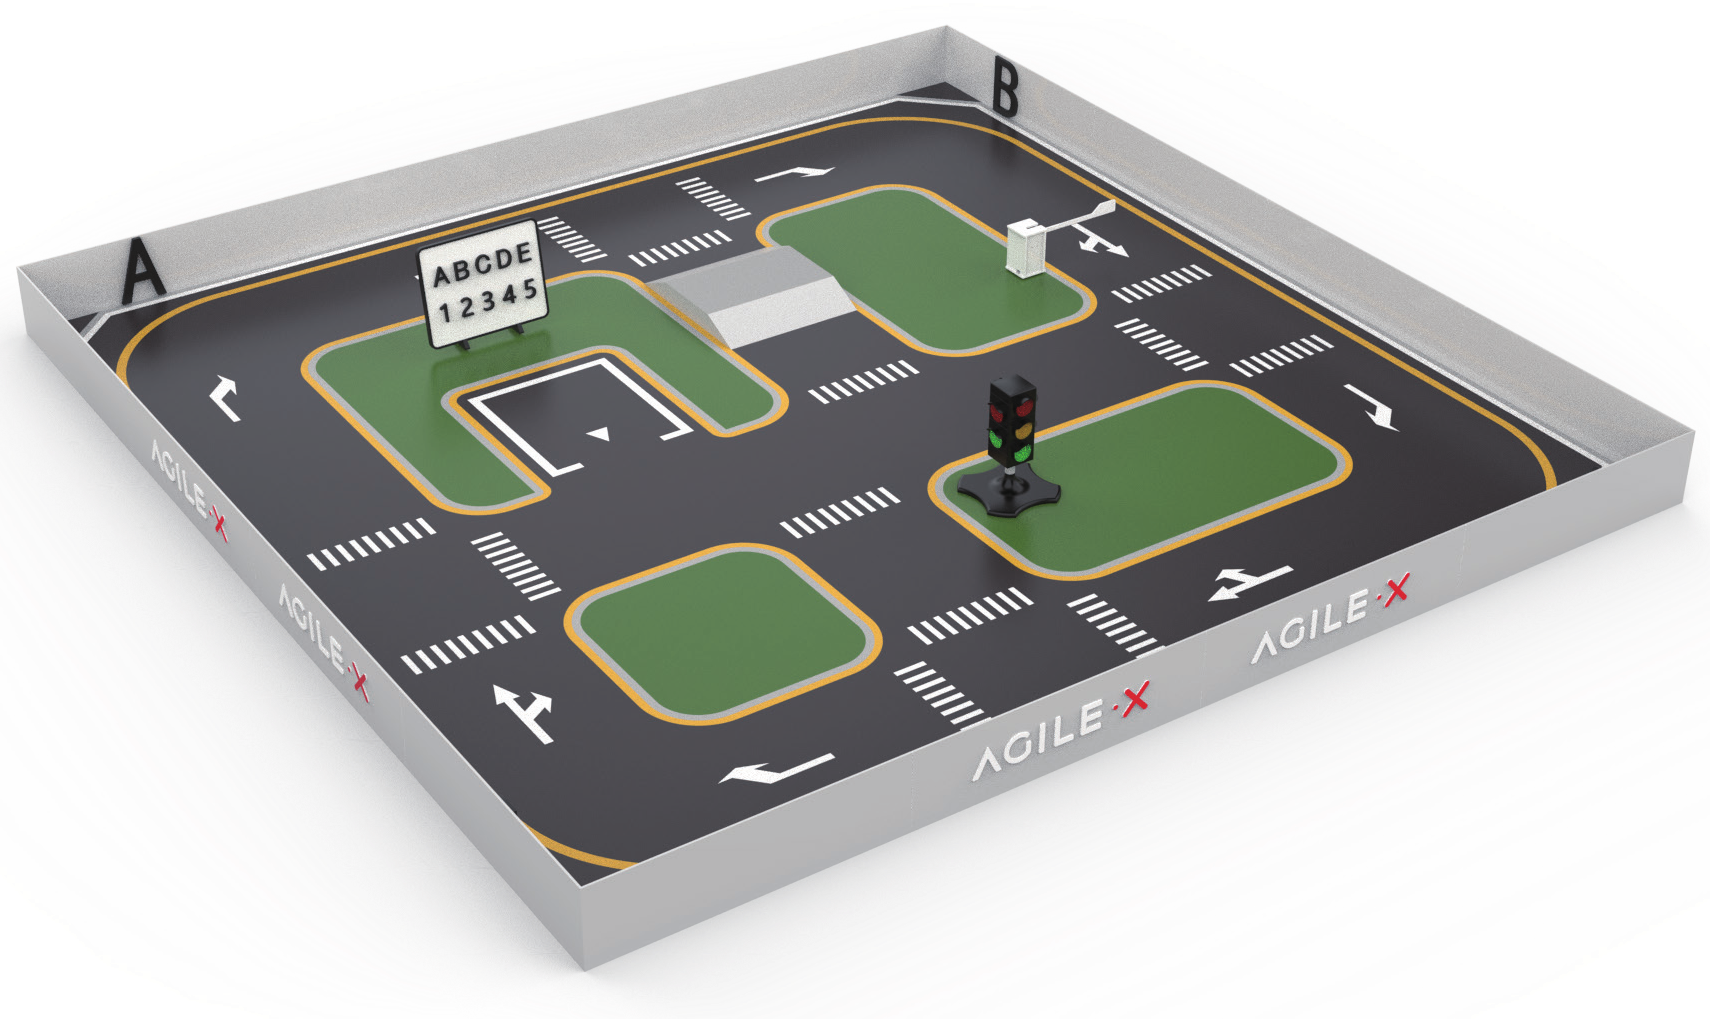
Install Table Components
Affix the ABCD characters at the end of each of the roads for the LIMO to identify its location during navigation.
Place the Whiteboard behind the Table’s parking space.
Install three (3) AAA batteries in the traffic light’s battery slot under its body.
Place the traffic light.
Affix the AR tag shown below to the end of the Lifting Lever’s gate such that the tag will be in the middle of the road when it is placed.

Place the Lifting Lever.
The components should look something like the image below when completed.

Affix Table to it’s Working Surface
If the friction between the Table and the surface it’s on is small such that the motion of the LIMO causes the table to move, the tape in the accessories can be used to better hold the table in place.