First Time Use
- Install the two antennas to the connectors on top of the LIMO.
- Charge the battery until the LED indicator on the charging blocks is a solid green.
- Open the rear door on the LIMO and connect the battery to its connector.
- Long press the power button on the left side of the robot to turn it on.
- Check the battery charge level by observing the indicator on the right side of the robot.
| Light Status | Meaning |
|---|---|
| Solid Green | Sufficient Battery Charge |
| Flashing Red | Low Battery Charge |
- Check the current steering mode of the robot by observing the color of the lights at the front by the latches.
| Latch Status | Indicator Color | Current Steering Mode or Status |
|---|---|---|
| Any | Blinking Red | Low Battery or Main Controller Alarm |
| Solid Red | LIMO Stopped Due to Error | |
| Inserted | Yellow | Four-wheel Differential Drive or Tracked |
| Blue | Mecanum | |
| Released | Green | Ackermann |
Open the door on the right side of the robot. You will see two USB ports on the USB hub. Plug in a mouse and keyboard.

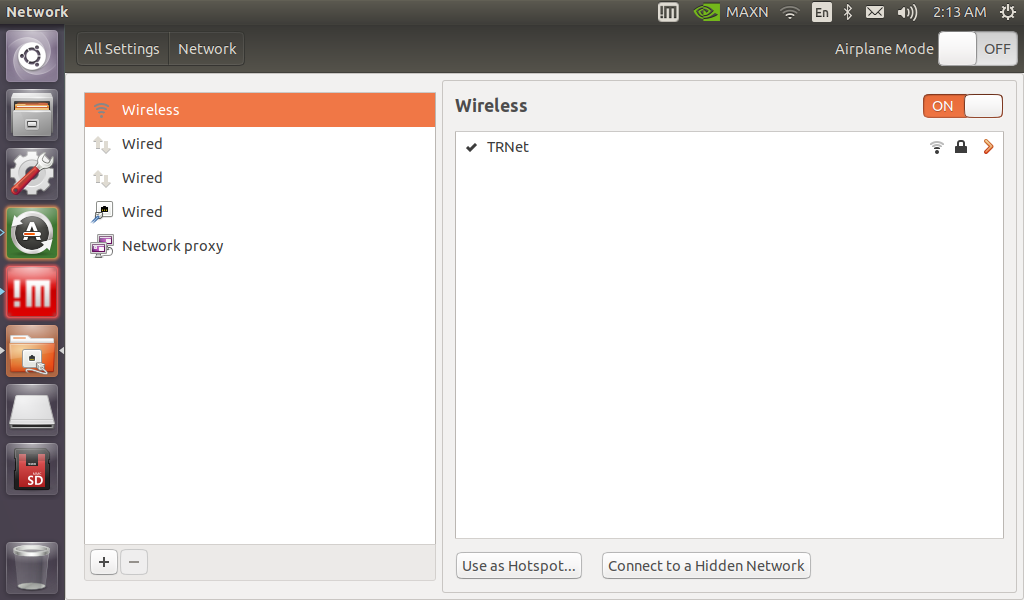
Connect your robot to your Wi-Fi using the LIMO computer’s settings menu under All Settings > Network.